I had been wanting to make a potato stamp for a while now. When we were thinking of ideas for Dax's valentines, the "tato" stamp again came to mind as something fun to try. I took some pictures as I went and thought I would make a quick tutorial in the event that you want to try this fun activity.
Get yourself a nice size potato. Since my 3 year old was going to be the main stamper, I wanted something to fit nicely in his hand.
Cut the potato in half.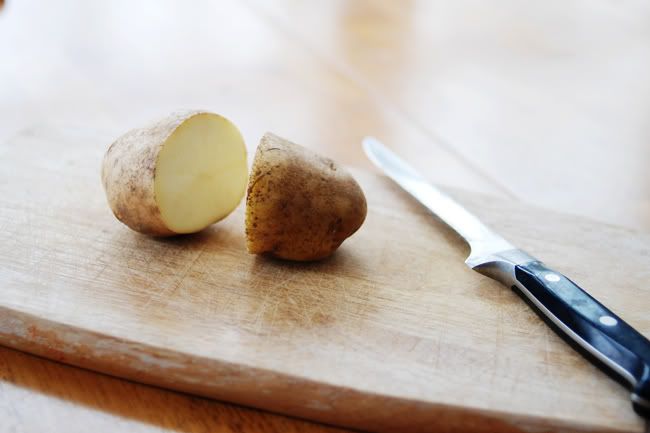
Be sure to cut it in half with a straight cut. I didn't pay much attention and didn't really cut all that straight resulting in a stamp that was not totally flat. Of course, I didn't notice that it was not flat until I loaded it up with paint and and tried it.
Sketch out your design on the potato. 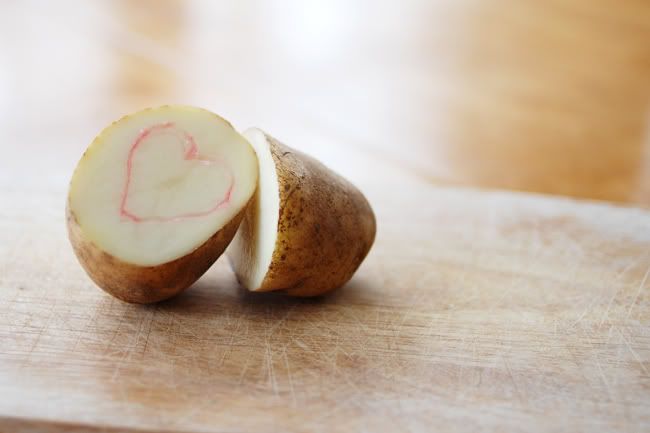
We chose a heart for Valentine's Day. I also wanted something simple for my first try. I just used a colored pencil because that was the first pencil that I grabbed.
Start to carve out your design.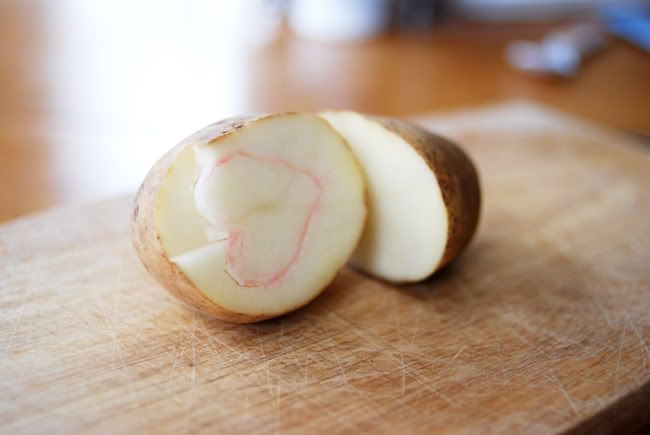
I first traced the design with the tip of the knife going about as deep as I thought the stamp should be. I wanted to make the relief fairly thick because I didn't want the 3 year old stamper to have any issues getting paint where he wouldn't want it. I found it easiest to remove small pieces after I traced the design with the knife tip first.
Continue to remove small pieces until you get the rough shape of the stamp.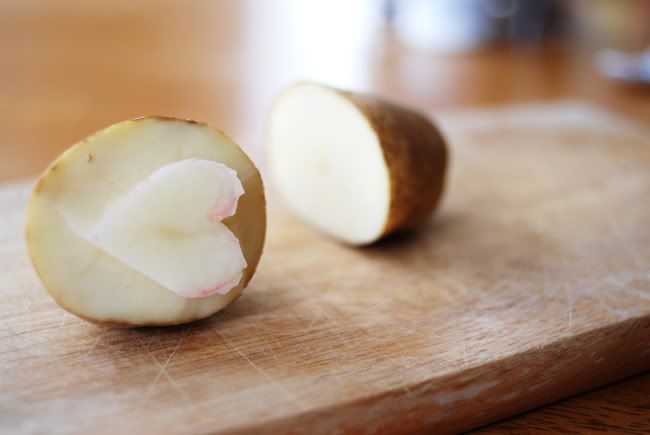
With the knife, clean up your edges on the stamp like so.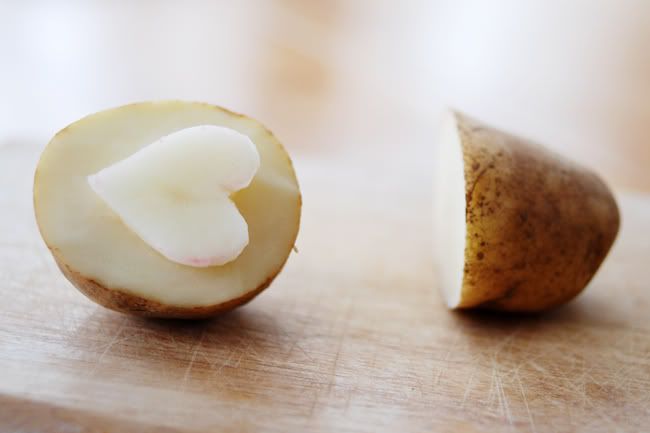
Time to test it out. My very crafty friend shared this helpful tip. Save your styrofoam that meat comes packaged in to use as a paint tray or craft tray. When the kids are finished just wash and reuse or just throw away.(Thanks Andrea!!)
We used some red paint and some red glitter glue and mixed them together.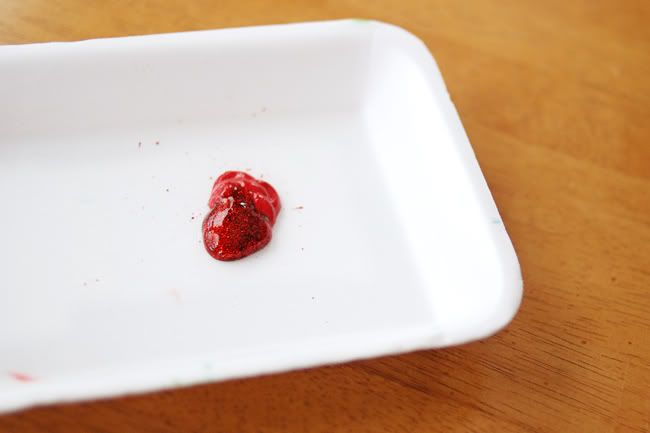
Load up your stamp by pressing it into the paint.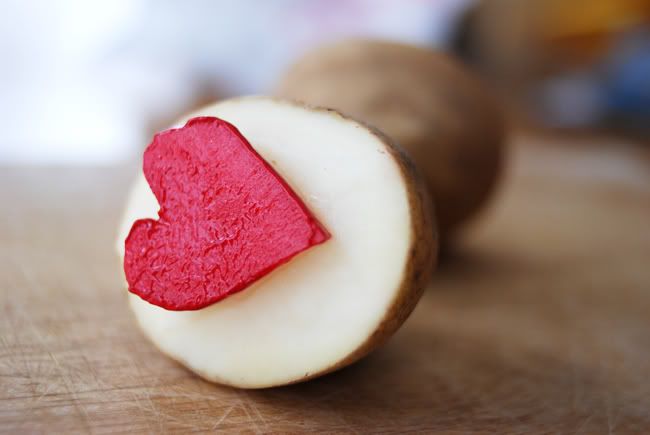
Find yourself a cute little helper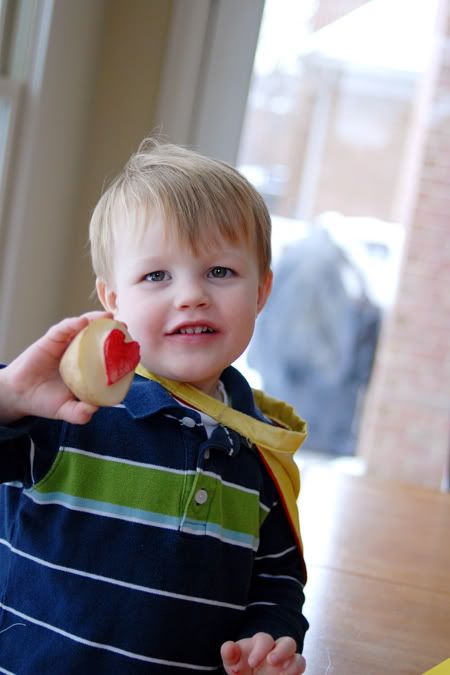
and press the stamp onto your paper or card stock.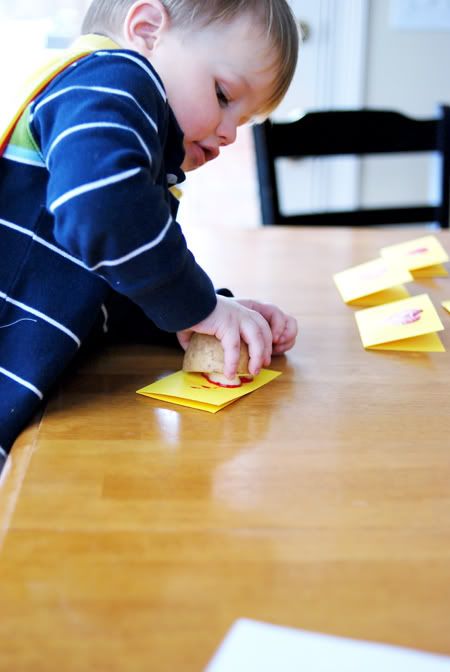
Press firmly and try not to move it around. Smile because you are actually doing it yourself.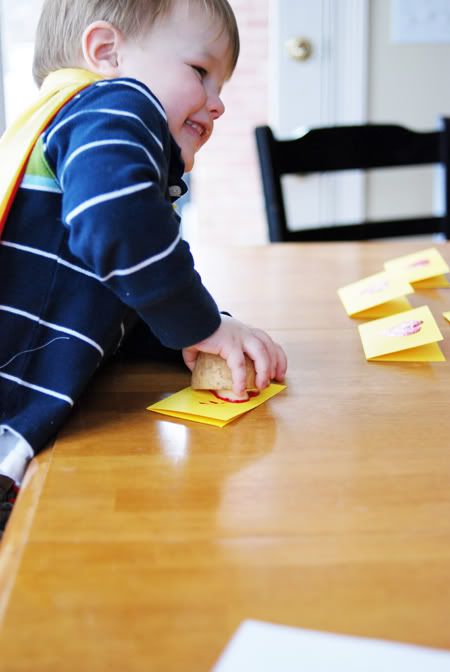
Here it is. Perfectly imperfect. The glitter didn't show up until after it dried and had a subtle effect. 
Big brother really wanted to get in on the action too, so to maintain your sanity, use the other half of the potato to make another stamp at the same time and don't let anyone touch them until both stamps are finished!!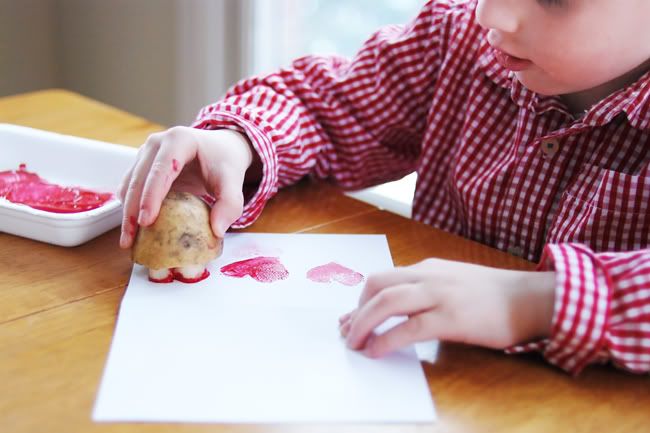
Here is what we did with the other half. 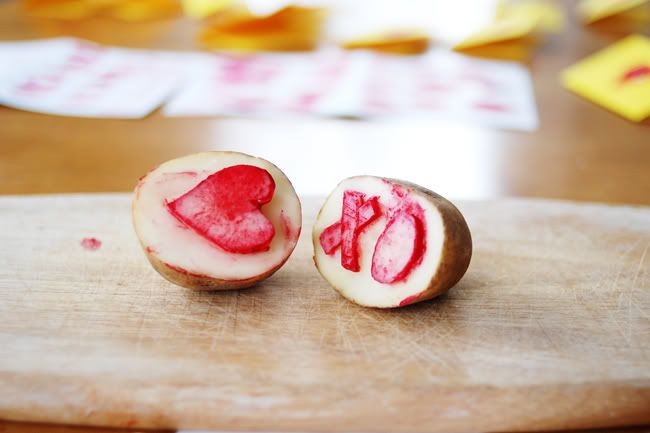
Initials, numbers, shapes.... get creative. We stuck with simple this time.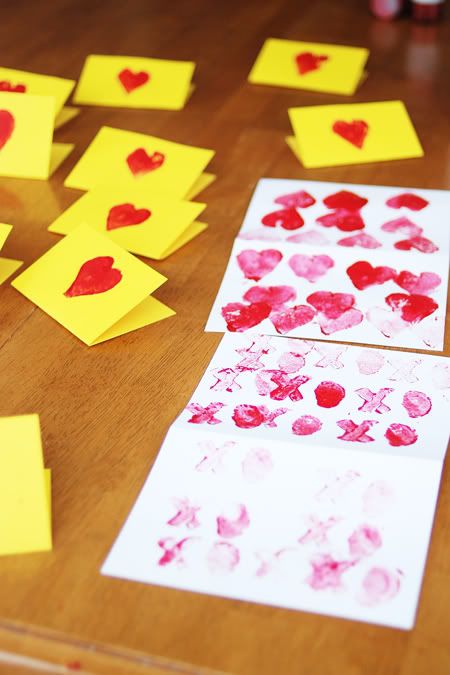
You can get different effects by stamping more than once without loading up paint. More than one color of paint would have been fun too. It was a great time...the possibilities are endless and the potatoes are plentiful:)
Monday, February 22, 2010
potato stamp tutorial
Posted by Melanie at 9:31 PM 190 comments
Sunday, February 14, 2010
happy valentine's day
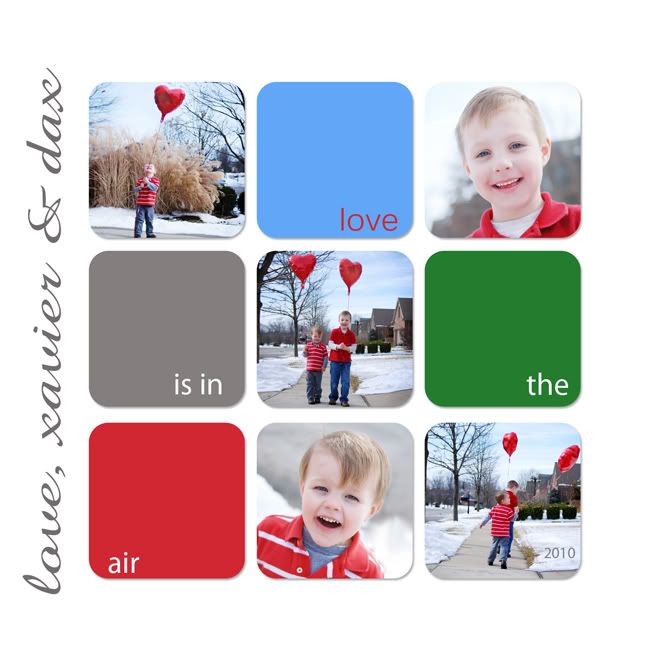
It was a busy crafting week here at the Noe place. Xavier made valentines for school. Of course we had to do Batman ones:)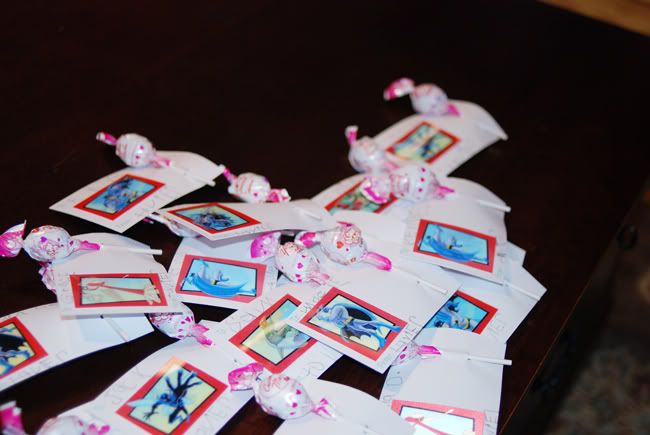
There was not room to write the names on the back of these valentines when you are just learning to write so we improvised and had room for a sucker:)
We were also hosting the Valentine Party for playgroup so we made even more valentines.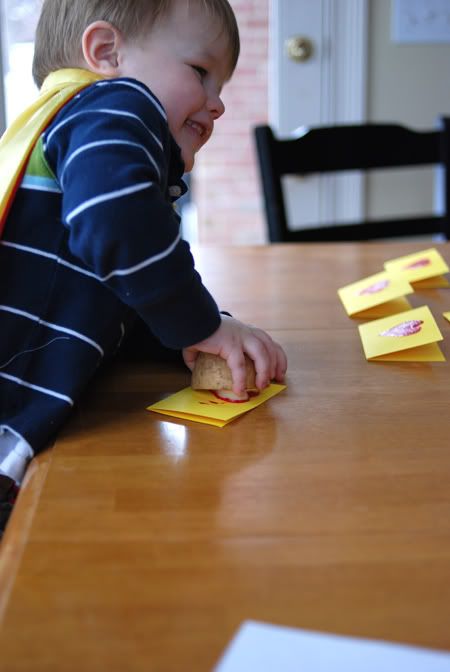
Dax wrote his name on every one himself!
We saw an idea for Xavier's valentines online and had fun making these together.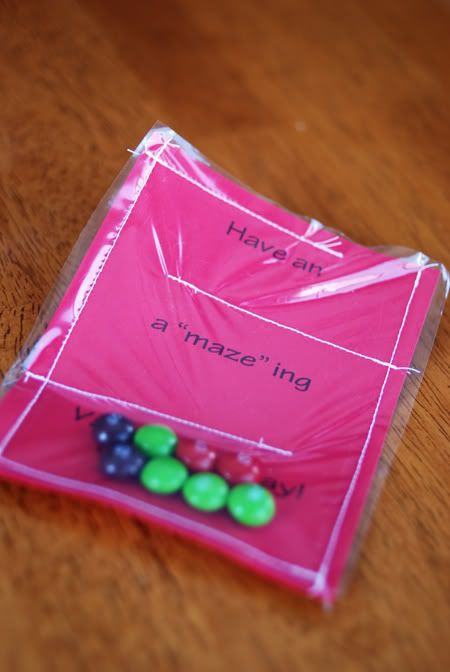
It says "Have an a"maze"ing Valentine's Day!
We put up some decorations upstairs and downstairs.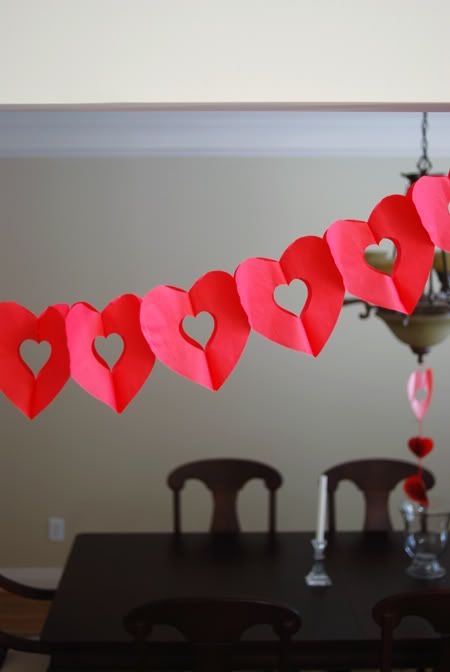
Everyone brought snacks to share and made little valentine holders at the party as a craft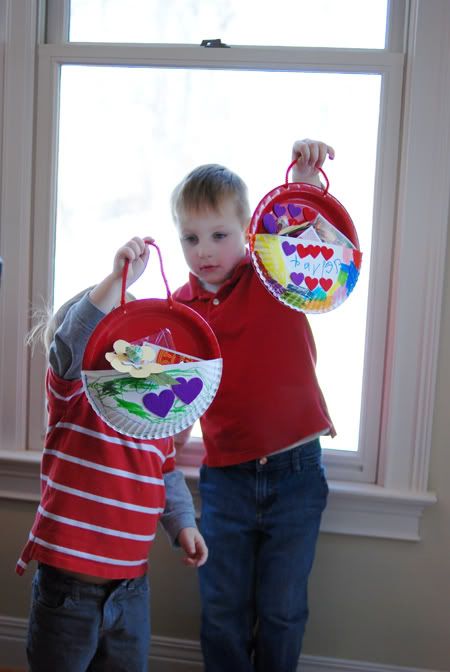
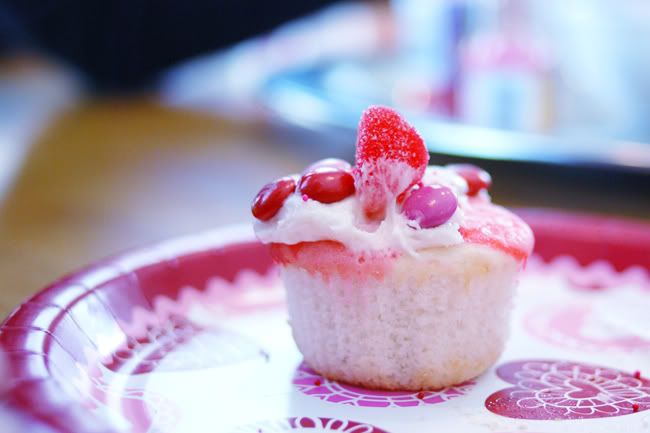
and then decorated cupcakes.
My friend sent me the link for these cupcakes and they turned out so cute. You can find that here.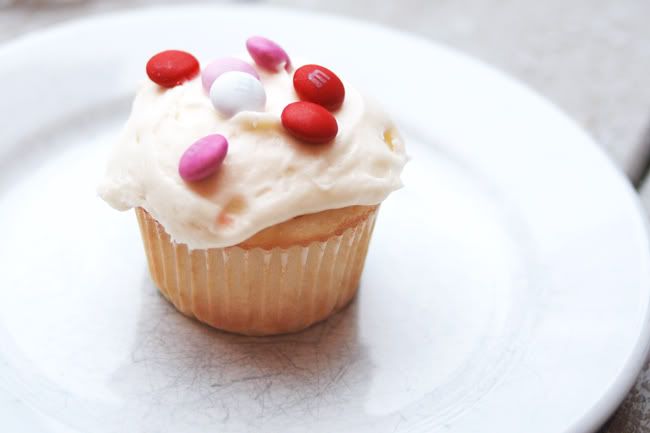
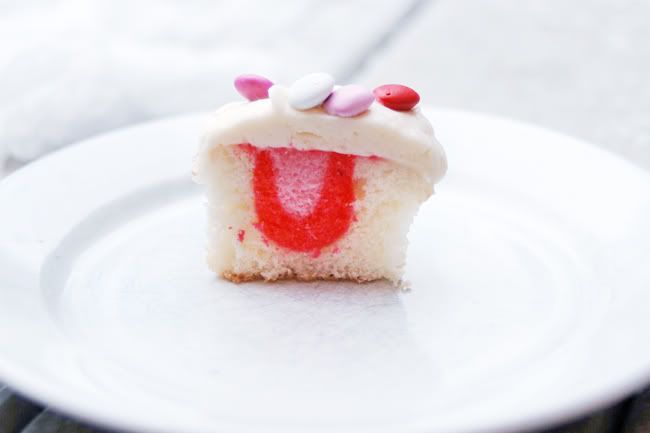
The real trick to it is to make sure to insert the tip of the baggie or pastry bag down into the cupcake and then squeeze. They were fun!!
After the party we delivered cupcakes and valentines to my friend who does story time at the library as the boys and I just love her!!
After that we took some quick valentine pictures. Not everyone was happy about all the ice and wind.
Dax had just fallen and claimed that the wind had done it!!
Xavier has his school party on Tuesday as it was supposed to be last Thurs. but many of the children didn't bring in their valentines because the weather was so bad on Tues and Wed. they could not go out to get them. And so the love fest continues:)
Wednesday, February 10, 2010
they {heart} snow days...

They do! I mean really love them! Waking up to a blanket of white, the unexpected change in routine, the feeling of being "stuck" at home, movie time, mom coming up with endless "new and fun" things to do, wearing lounging clothes all day long. All of it. This is the second snow day in a row and I used up ALL of my tricks yesterday. I did. I really did.
But I did pull out the camera today, pulled some very non-winter worthy clothes and traipsed out to backyard to get a few pictures of the boys. Maybe winter would not be so bad if I had proper clothes to put on like ....snow pants and a parka?? Don't even get me started on my choice of footwear. I would have even settled for an old pair of moon boots...remember those?? Anyway, all complaining aside, the boys had a great time outside and I almost forgot how much I disliked snow.....for a minute or two!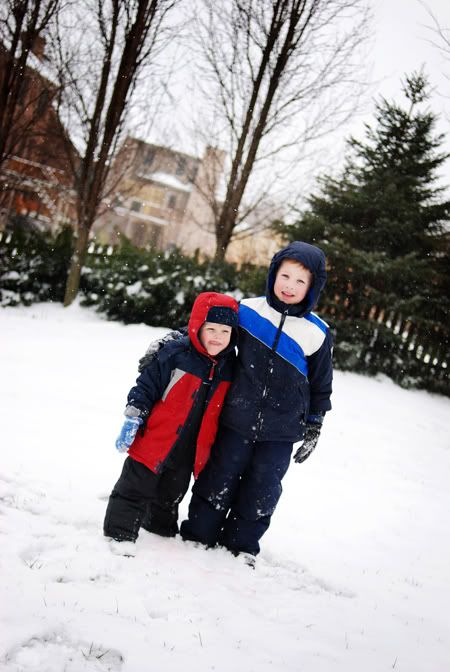



After the outside fun, the boys picked a movie and we had an indoor picnic for lunch...a lunch that included popcorn, cheese and fruit.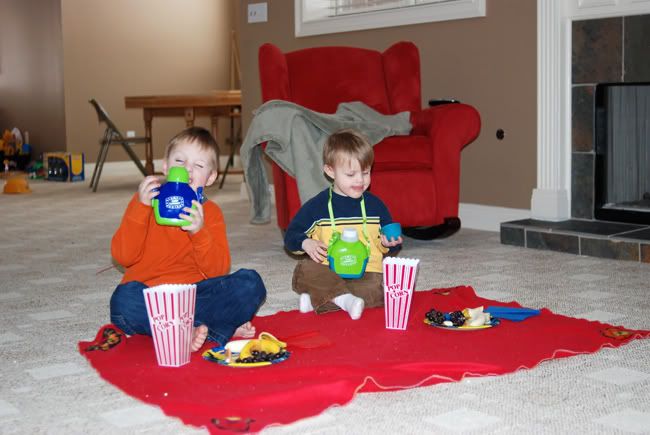

Just another fun filled day at the Noe house. Although today is fun...would it be wrong to wish for a non-snow day tomorrow or the rest of the year??
Sending warm and happy and non-snow thoughts from our home to yours!!
Posted by Melanie at 1:10 PM 2 comments
Sunday, February 7, 2010
"b" is 4 brownie...
I have been on a bit of a brownie kick here lately. It all started last Sunday when the boys and I found 2 new brownie recipes to make.... technically, it started when my friend brought along some fantastic chocolate chip cookie/brownie bars with fudge ganache last Friday for a little play date. (You can find that recipe here...thanks Denisha!!)
The first recipe we made was for these babies from Martha Stewart.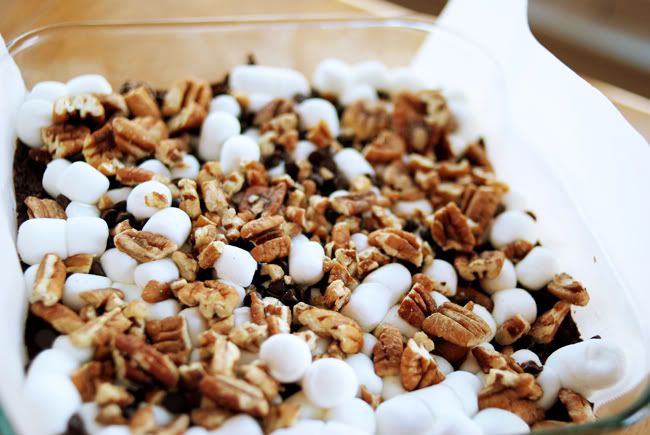
Rocky Road Brownies
1/2 cup (1 stick) unsalted butter, cut into pieces, plus more for pan
1 bag (12 ounces) semisweet chocolate chips
1/2 cup granulated sugar
1/2 cup packed light-brown sugar
1/2 teaspoon salt
2 large eggs
3/4 cup all-purpose flour (spooned and leveled)
1 cup miniature marshmallows
1/2 cup chopped nuts, such as cashews, pecans, or walnuts
1.Preheat oven to 350 degrees. Butter an 8-inch-square baking pan. Line bottom with parchment paper, leaving an overhang on two sides; butter paper.
2.In a heatproof bowl set over (not in) a saucepan of simmering water, combine butter and 1 cup chocolate chips. Heat, stirring occasionally, just until melted, 3 to 5 minutes.
3.Remove mixture from heat; stir in sugars and salt, then eggs, and finally flour, stirring just until combined. Spread batter evenly in prepared pan. Bake until a toothpick inserted in center comes out with moist crumbs attached, 30 to 35 minutes.
4.Remove from oven, and sprinkle with remaining chocolate chips, then marshmallows and nuts. Bake until chocolate is shiny and marshmallows are puffed, about 5 minutes. Cool completely in pan. Using paper overhang, lift cake onto a work surface; cut into 16 squares.
They were very good although I made a small error and didn't thoroughly read the instructions and added the whole bag of chocolate chips instead of a cup! I had to break out another bag to use on top! Ooops. They were dense and fudgey....probably due to the additional chocolate chips!
The second recipe we made was for something called Brownie Pudding. This was from the Tasty Kitchen site. This is a vintage recipe.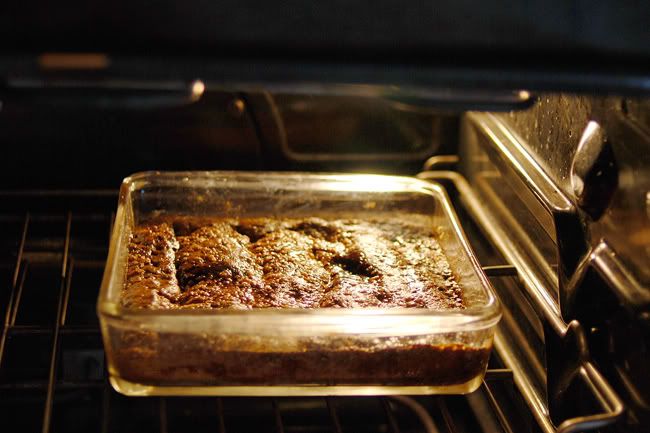
Brownie Pudding
½ cups Flour
1 teaspoon Baking Powder
⅓ cups Granulated Sugar
1 teaspoon Salt
3 Tablespoons Cocoa, Divided
¼ cups Milk
1 Tablespoon Melted Butter
½ teaspoons Vanilla
¼ packages Crushed Walnuts (optional)
½ cups Brown Sugar
•¾ cups Boiling Water
Mix flour, baking powder, granulated sugar, salt, and one tablespoon cocoa. Then add the milk, butter, and vanilla. Mix until smooth, add nuts (reserve some for sprinkling), and pour into the greased baking dish. Mix the brown sugar and the remaining two tablespoons of cocoa together then sprinkle over the batter. Also sprinkle a little bit of nuts over it, and then pour the boiling water over the top.
Bake at 350F for thirty to forty minutes, then cool before serving
After you pour the hot water on them...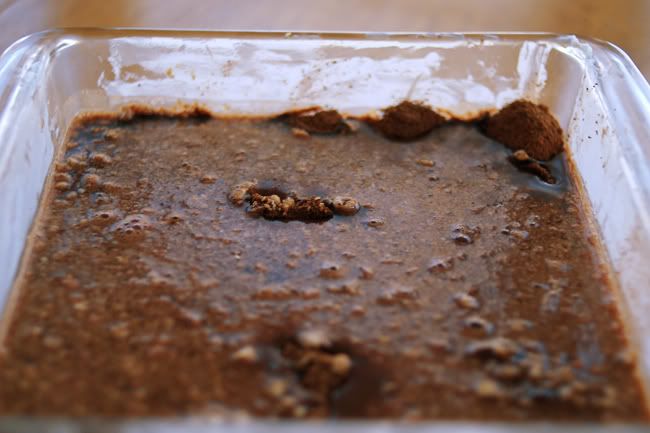
After baking.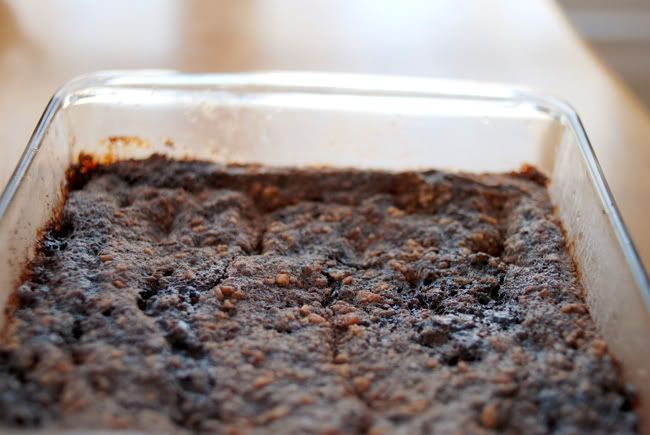
This recipe was certainly interesting and a bit odd in preparation but Steve really liked them. He liked them more than I did. I used about 1/3 cup of pecans that I chopped in the food processor. They contributed to an "oatmeal" type texture and the brownies tasted really salty to me. If I make these again, I would definitely cut down on the salt to maybe 1/4 to 1/2 tsp. They have hardly any butter and no eggs but they were very moist. They did lack they full flavor, fudgy texture of their counterparts but certainly would do in a pinch!
On Wednesday evening I made my go to recipe for homemade brownies to take to a friend's house on Thursday. I topped them with mini marshmallows, Valentine plain m&m's and mini chocolate chips and stuck them back in the oven for a few minutes to puff the marshmallows. They were so festive and cute!! Regrettably, I didn't get any pictures. Here is the recipe:
Hershey's Best Brownies
1/2 cup (1 stick) butter or margarine, melted
1 cup sugar
1 teaspoon vanilla extract
2 eggs
1/2 cup all-purpose flour
1/3 cup HERSHEY'S Cocoa
1/4 teaspoon baking powder
1/4 teaspoon salt
1/2 cup chopped nuts(optional)
1. Heat oven to 350°F. Grease 9-inch square baking pan.
2. Stir together butter, sugar and vanilla in bowl. Add eggs; beat well with spoon. Stir together flour, cocoa, baking powder and salt; gradually add to egg mixture, beating until well blended. Stir in nuts, if desired. Spread batter evenly in prepared pan.
3. Bake 20 to 25 minutes or until brownies begin to pull away from sides of pan. Cool completely in pan on wire rack.
If I have some chocolate chips on hand, I almost always throw some in the batter for an extra chocolate boost. Also, I really watch them closely as to not over bake so they are moist and fudgy.
The 4th and final recipe I made last night when we had some friends over for beef and shrimp fajitas. In sticking with the Mexican theme I found a recipe for Dulce de Leche Brownies and just had to make them!!
Look at these!!! The caramel didn't melt into the brownie but rather made little caramel pockets throughout.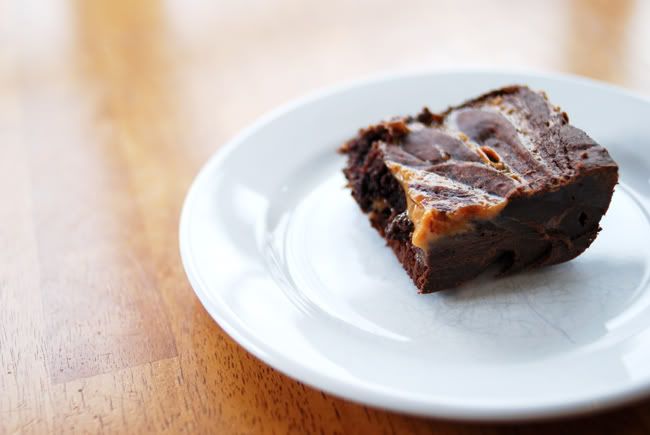
Dulce de Leche Brownies
8 tablespoons (115g) salted or unsalted butter, cut into pieces
6 ounces (170g) bittersweet or semisweet chocolate, finely chopped
1/4 cup (25g) unsweetened Dutch-process cocoa powder
3 large eggs
1 cup (200g) sugar
1 teaspoon vanilla extract
1 cup (140g) flour
optional: 1 cup (100 g) toasted pecans or walnuts, coarsely chopped
1 cup Dulce de Leche (or Cajeta)
Preheat the oven to 350 degrees (175 C).
Line a 8-inch (20 cm) square pan with a long sheet of aluminum foil that covers the bottom and reaches up the sides. If it doesn't reach all the way up and over all four sides, cross another sheet of foil over it, making a large cross with edges that overhang the sides. Grease the bottom and sides of the foil with a bit of butter or non-stick spray.
Melt the butter in a medium saucepan. Add the chocolate pieces and stir constantly over very low heat until the chocolate is melted. Remove from heat and whisk in the cocoa powder until smooth. Add in the eggs one at a time, then stir in the sugar, vanilla, then the flour. Mix in the nuts, if using.
Scrape half of the batter into the prepared pan. Here comes the fun part.
Drop one-third of the Dulce de Leche, evenly spaced, over the brownie batter, then drag a knife through to swirl it slightly. Spread the remaining brownie batter over, then drop spoonfuls of the remaining Dulce de Leche in dollops over the top of the brownie batter. Use a knife to swirl the Dulce de Leche slightly.
Bake for 35 to 45 minutes. The brownies are done when the center feels just-slightly firm. Remove from the oven and cool completely.
I used Ghiradelli semi sweet chips and made my own Dulce de Leche by gently boiling an unopened can of sweetened condensed milk (label removed) for 3 hours on the stove. I checked it often to be sure that the water stayed high enough to come to the top of the can. Cool completely and then open the can. Inside you will find a delicious caramel. I have heard that it can explode if you let the pan boil dry. If you think this sounds risky....just try it, the brownies are totally worth it. Refrigerate any leftover caramel, or simply eat the remainder with a spoon!! This is definitely up there with my favorite brownie recipe!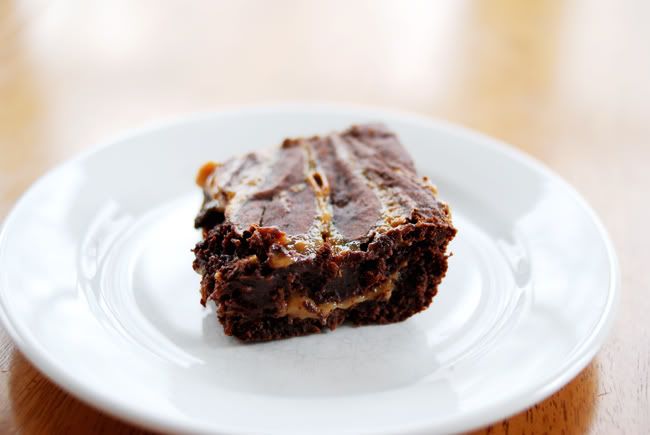
Posted by Melanie at 8:30 PM 1 comments
