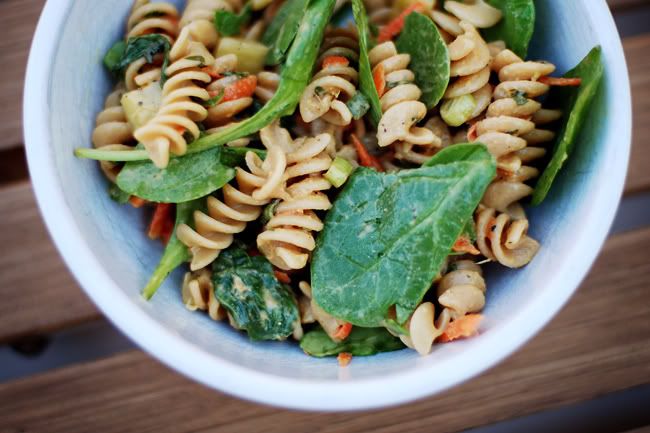
This pasta is sooo good. My friend Hillery served this as part of the "Mommy Food" at the awesome Halloween party that she hosted and was kind enough to pass the recipe on to me too! She added chicken and spinach to it when she served it and had even made a special batch just for me that did not have chicken in it (due to my allergy). How thoughtful is that???
Thai Pasta Salad
2 cups uncooked pasta
1/4 c. cider vinegar
2 TB. sugar
3 TB. creamy peanut butter
2 TB. soy sauce
1 TB. fresh ginger, minced
2 cloves garlic, minced
1 small cucumber, seeded and chopped
2 medium carrots, coarsely shredded (1 cup)
4 green onions, sliced
1 c. fresh cilantro, chopped
Cook, drain, and rinse pasta. Meanwhile, in small bowl, combine vinegar, sugar peanut butter, soy sauce, ginger, and garlic. Beat with whisk until well blended. In a large bowl, combine cooked pasta, cucumber, carrots, and green onions. Mix gently. Pour dressing over pasta mixture and toss gently to coat.
** I added about 3 cooked chicken breasts, doubled the pasta (actually, I think I just used the whole box) and added 2 cups of fresh baby spinach and doubled the amount of dressing.
My hubby preferred it warm and it reheated great the next day. You may need to add just a bit of water if the pasta seems a little dry.
Loved it and can't wait to make it again!
Saturday, November 20, 2010
thai pasta salad
Sunday, October 3, 2010
spookin' it up
We spent some time last weekend making the house "scary" and the boys were so excited! We did a couple of craft projects to help us along. I saw this and was inspired to make one of our own. My helpers and I
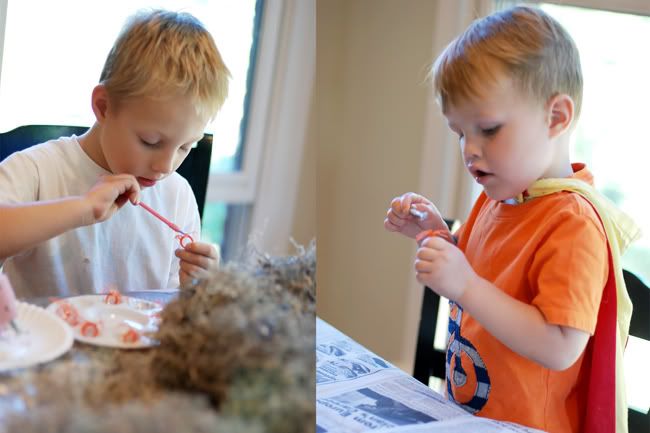
created this for our front door.
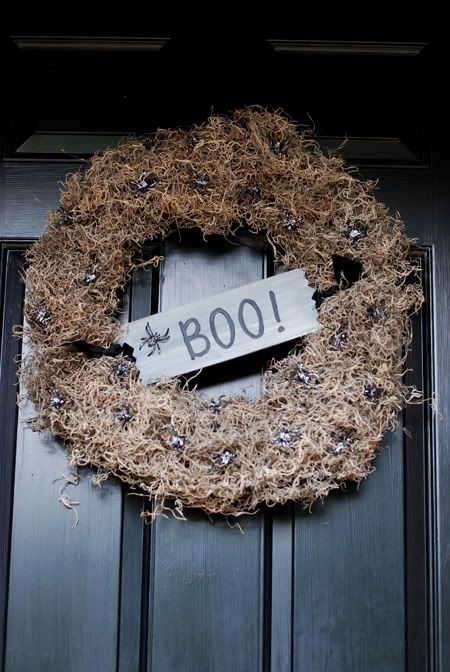
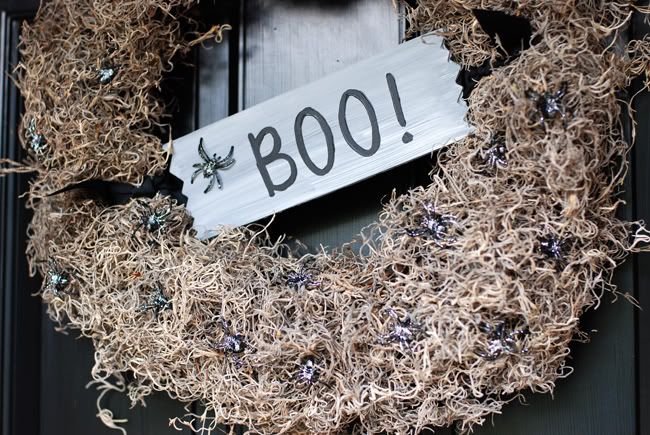
We used glitter glue on the spiders to help make them show up better. We just used spider rings to put in the wreath. We love it!
I also saw this and Dax and I made these while Xavier had a play date at a friend's house.
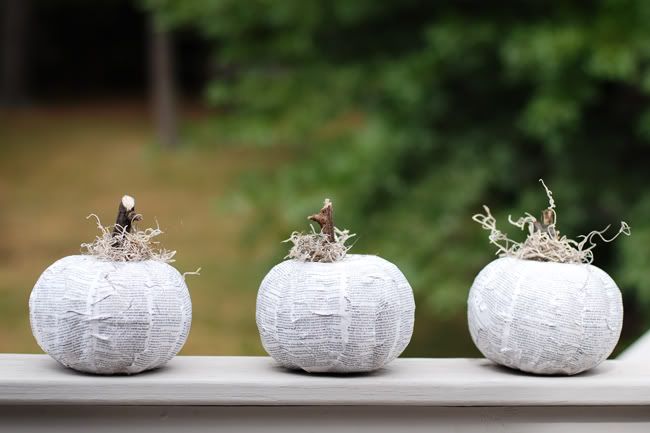
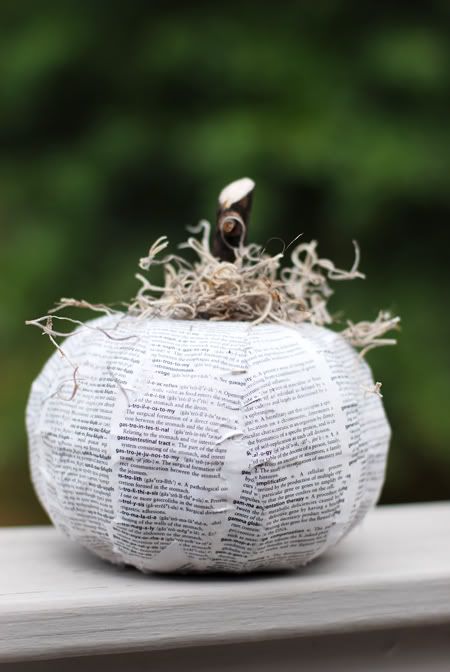
I found an old medical dictionary to use and thought that it added to the Halloween factor....and it is just funny:)
We then proceeded to decorate the mantel.
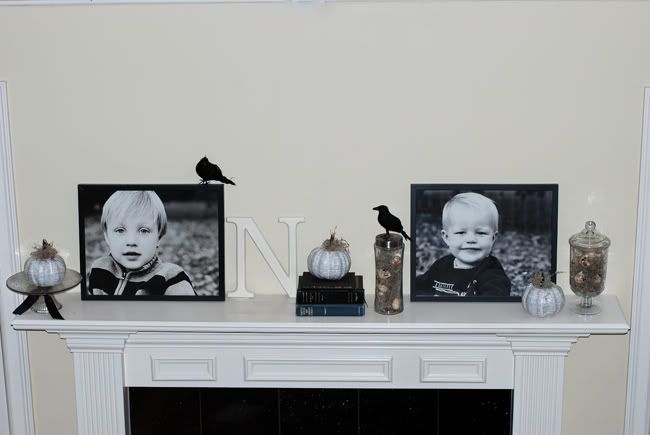
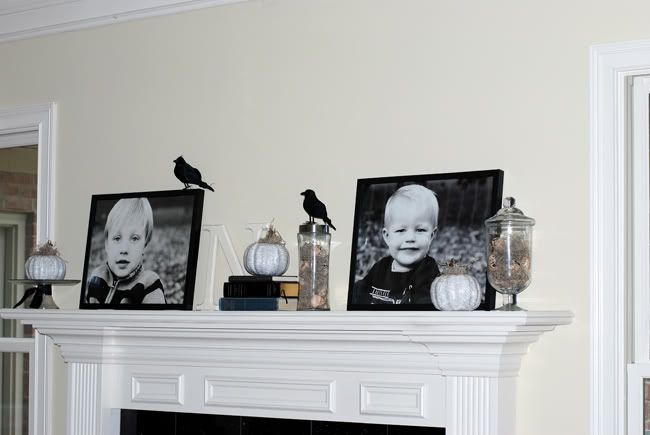
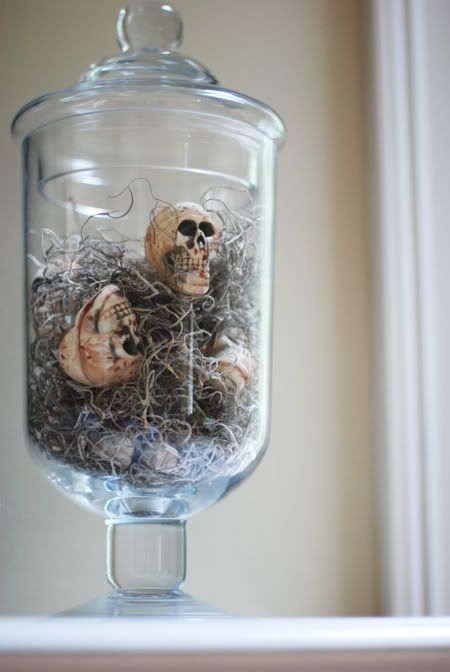
We found the crows at the Dollar Tree and also the skulls. They were kind of bright so we tossed them in a bag with some brown paint mixed with a little water to age them and it worked great. The boys are all about scary this year and it has been kind of fun!
I also made some homemade tomato soup. This was from a recipe I saw in the Food Network Magazine that a friend gave me a subscription to. The magazine has a ton of great recipes and food related articles in it. Love it:)
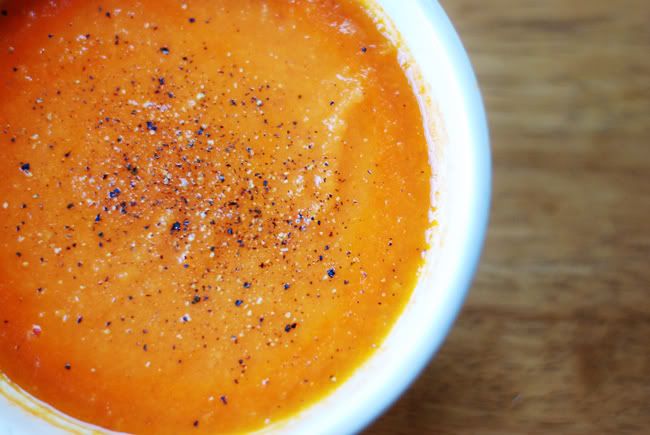
Tomato Soup
1/4 c. olive oil
1 medium onion, finely chopped
1 clove garlic, chopped or pressed
2 lbs tomatoes, chopped
1/2 t. sugar
1 t. salt
Combine all ingredients in a saucepan. Cook over medium heat, stirring occasionally until vegetable are tender, about 25 mins. Puree until smooth with immersion blender, or process in batches in blender or food processor. Season with pepper and keep warm; add water to thin soup if desired. Serves 4.
It was fast and easy and healthy. I will be making this again soon!
Here's to a spooky, scary and fun filled month!
Posted by Melanie at 9:35 PM 3 comments
Tuesday, September 28, 2010
sweet treats
I have been wanting to post this recipe for some time now. Look at these!
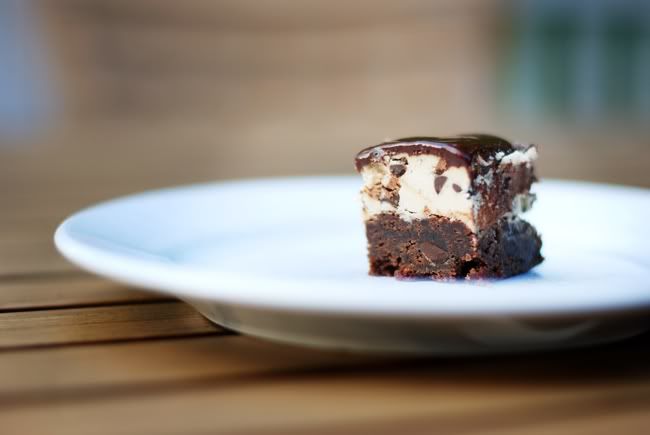
They are so good! Trust me...I'm pregnant!
I got the recipe from Tasty Kitchen.
Chocolate Chip Cookie Dough Brownies
•2 cups Butter, Divided
•¾ cups Unsweetened Cocoa Powder
•2-¾ cups Granulated White Sugar, Divided
•1 cup Packed Light Brown Sugar
•3-¼ cups All-purpose Flour, Divided
•3 whole Eggs
•½ teaspoons Salt
•½ teaspoons Baking Powder
•4 Tablespoons Milk
•3 teaspoons Vanilla Extract, Divided
•2-½ cups Mini Semi-sweet Chocolate Chips, Divided
•1 Tablespoon Shortening, Such As Crisco
For Brownies:
1 c. butter
3/4 c. unsweetened cocoa powder
2 1/4 c. granulated sugar
1/2 tsp. salt
3 eggs
1 tsp. vanilla extract
1 1/4 c. all-purpose flour
1/2 tsp. baking powder
1/2 c. mini semi-sweet chocolate chips
Prepare 13X13 baking pan by laying a piece of foil in the bottom and up the sides. Spray with cooking spray or butter the foil.
Melt 2 sticks of butter in a medium saucepan; add cocoa, stirring until smooth. Remove from heat and cool slightly. Add sugar, salt, eggs, and vanilla; beat with a spoon until combined. Add flour and baking powder; mix well. Stir in chocolate chips. Spread batter into pan. Bake at 350 degrees for 25 minutes. (I always remove my brownies from the oven when a toothpick inserted 1 inch from the side of the pan comes out clean or almost clean.) Allow brownies to cool completely before moving on to the next step.
For Cookie Dough Filling:
1 c. butter, softened
1 c. packed light brown sugar
1/2 c. granulated sugar
4 Tbsp. milk
2 tsp. vanilla extract
2 c. all-purpose flour
1 c. mini semi-sweet chocolate chips
Combine first 5 ingredients in a mixing bowl and cream together. Add flour and stir until combined. Stir in chocolate chips. Spread in an even layer on top of cooled brownies. Chill before adding chocolate glaze.
For Chocolate Glaze:
1 c. semi-sweet chocolate chips
1 Tbsp. Crisco shortening
Melt chocolate with shortening and stir until smooth. Spread over chilled cookie dough layer.
When I made these the second time, I skipped the foil part and just buttered the baking dish with perfect results. I made these as written, but did the chocolate glaze layer a little differently. I made a ganache by meting the chocolate chips with enough cream to get it to spreading/pouring consistency. Anyway, they really rich but good!
A couple of weeks ago we stopped to get donuts after church.
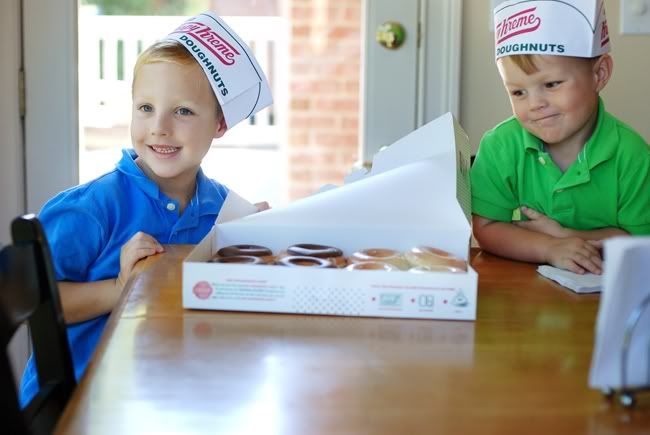
We really wanted donuts from Spaldings...a fantastic hole in the wall, non-chain donut shop, but the line was out the door when we drove past. Instead we got Krispy Kreme and their "HOT" sign was on and they sucked us into getting a dozen instead of just 6.
Grubby little hands were all over them!
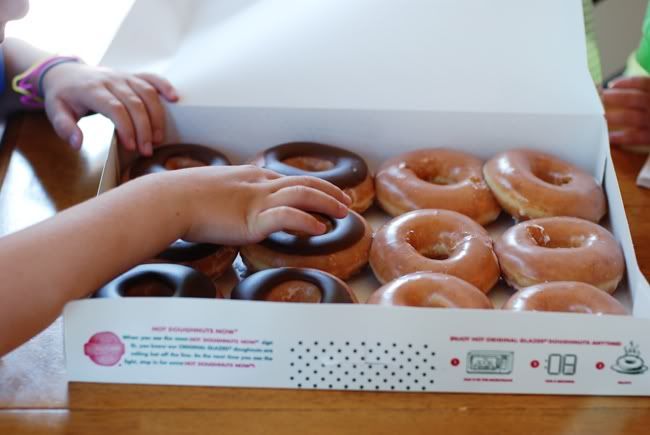
Warm donuts....yum!
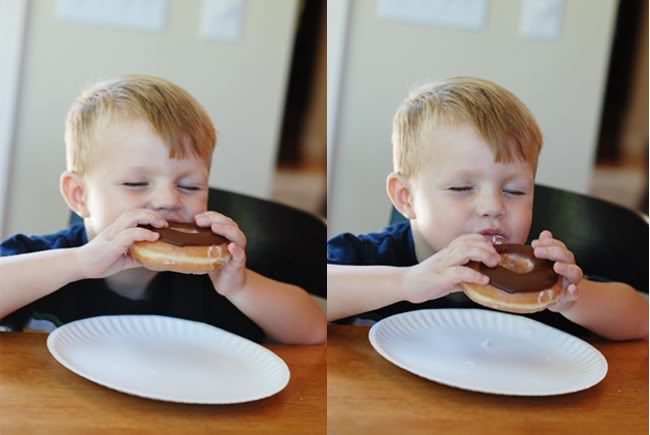
Apparently, they were close your eyes good!
Posted by Melanie at 4:39 PM 11 comments
Monday, July 12, 2010
a little fun on the fourth
To celebrate the 4th of July we got a few fireworks for the boys this year. They were SO excited but didn't even really know what to expect. We did the fireworks on the evening of the 3rd. While we waited for it to get dark the boys ran around catching fireflies.
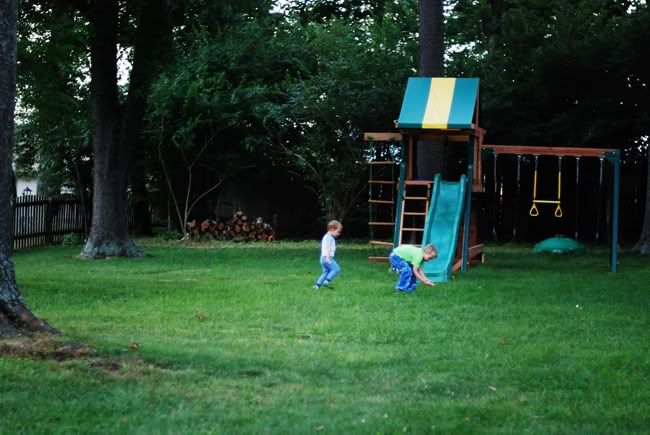
They started off with some "snap-its" and loved the noise they made when they threw them at the ground.

Time for the "big" stuff:)
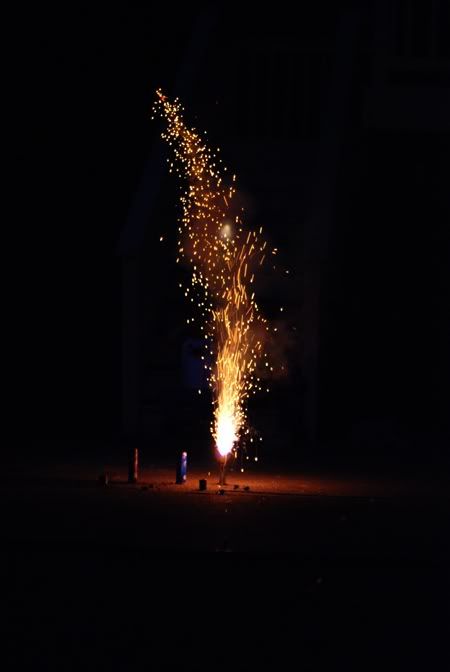
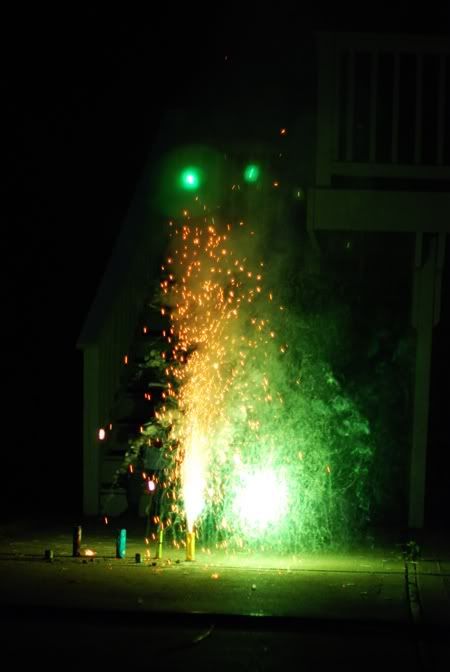

On the 4th we were invited to a cookout and fireworks at our friend's house. In addition to fresh berries and jalapeno poppers (similiar recipe here), I made a Chocolate Chip Cookie Cake. It was festive and good:)
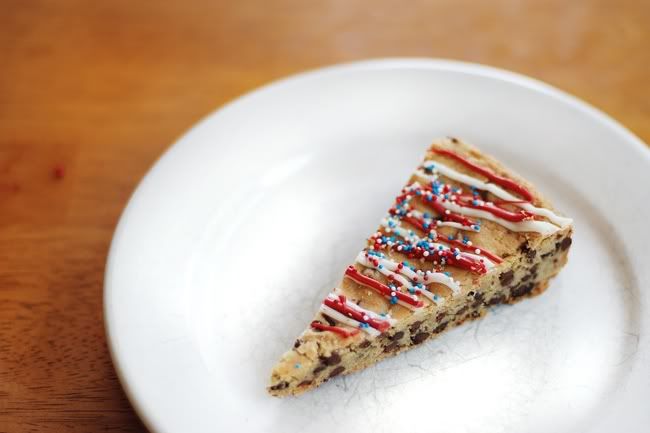
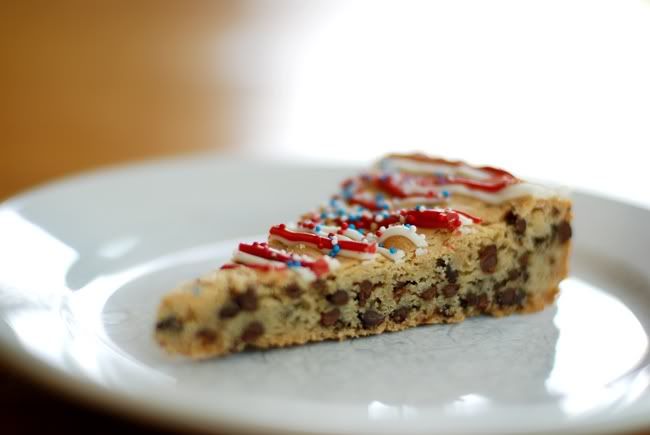
Chocolate Chip Cookie Cake
1 cup All-purpose Flour
1-½ teaspoon Baking Powder
¼ teaspoons Salt
1 stick Butter
1 cup Light Brown Sugar
1 teaspoon Vanilla Extract
½ teaspoons Almond Extract
1 whole Egg
1-¼ cup Semi-Sweet Chocolate Chips
Preheat the oven to 350 F.
Combine the flour, baking powder and salt together in a medium bowl and set aside. Using a stand mixer fitted with the paddle attachment, cream the butter, light brown sugar, and extracts on medium speed until well combined. Stop the mixer, scrape down the sides combined. Stop the mixer, scrape down the sides of the bowl, and add the egg. Blend on medium speed for 30 seconds. Add the dry ingredients and combine on low speed until just combined. Add the chocolate chips and mix until combined.
Put the batter into a greased and floured 10-inch round cake pan. Smooth the batter into an even layer and bake until lightly golden and puffy around the edges (the center should still feel quite soft), 18 – 22 minutes. Cool for 4 hours before cutting. Store in a cake carrier or simply wrap the cake pan in cellophane.
I pretty much made the recipe as is except maybe added a few more chocolate chips...I used the mini ones and baked it my springform pan and it came out of the pan perfectly!
We had a very nice holiday weekend!
Posted by Melanie at 4:55 PM 3 comments
Saturday, March 13, 2010
chicken with forty cloves of garlic
Many of you know my love for reading cookbooks and even occasionally trying a recipe from them:) My MIL got me Julia Child's cookbook, Mastering the Art of French Cooking, for Christmas which I have been reading and we recently had some delicious food at friend's house from a new recipe book of hers that is french. Now I am more than intrigued. My friend has let me borrow a couple of her cookbooks. The first recipe I tried out is chicken with forty cloves of garlic.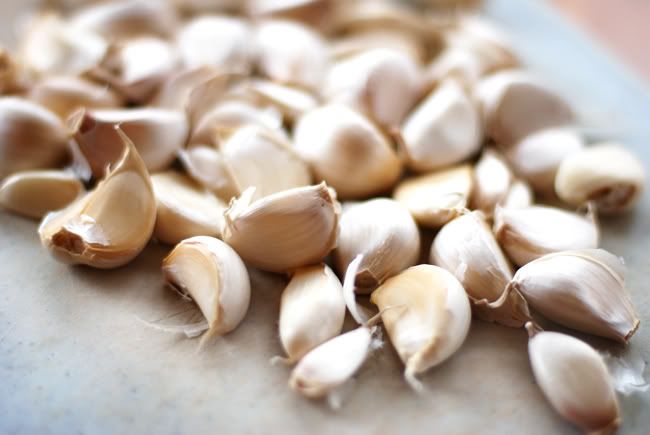
Chicken with Forty Cloves of Garlic
2 celery stalks, including leaves
2 springs of rosemary
4 sprigs of thyme
4 sprigs of flat leaf parsley
1 3 1/2 lb. whole chicken
40 cloves of garlic, unpeeled
1 carrot, roughly chopped
2 T. olive oil
1 small onion
1 cup white wine
1 baguette, cut into slices
Preheat the oven to 400. Put a chopped celery stalk and 2 sprigs each of rosemary, thyme and parsley into the chicken cavity. Add 6 cloves of garlic. Tie the legs together and tuck the wing tips under.
Brush the chicken with olive oil and season with salt and pepper well. Scatter 10 more garlic cloves over the base of a large covered casserole or roasting pan. (Use a dish into which the chicken and vegetables fit quite snugly so that the flavors mingle well.) Put the remaining sprigs of herbs, chopped celery, carrot and onion into the baking dish.Put the chicken into the dish. Scatter the remaining garlic cloves around the chicken and add any remaining olive oil and the wine.
Cover and bake for 1 hour 20 minutes or until the chicken is tender an the juices run clear when the thigh is pierced with a skewer.
To serve, carefully lift the chicken out of the dish. Strain off the juices into a small saucepan. Use tongs to pick out the garlic cloves from the strained mixture. Spoon off fat from the juices and boil for 2-3 minutes to reduce and thicken a little.
Cut the chicken into serving portions on a platter, pour over a little of the juices and scatter the garlic cloves. Toast the baguette slices and serve the bread to be spread with the soft flesh squeezed from the garlic.
Here is my chicken before I put it in the oven. I could not find my cotton string anywhere so I just left the legs flop. Tying the legs keeps them close to the body of the chicken and they won't cook as fast. Be sure to use cotton string and not nylon, as nylon will melt in the oven.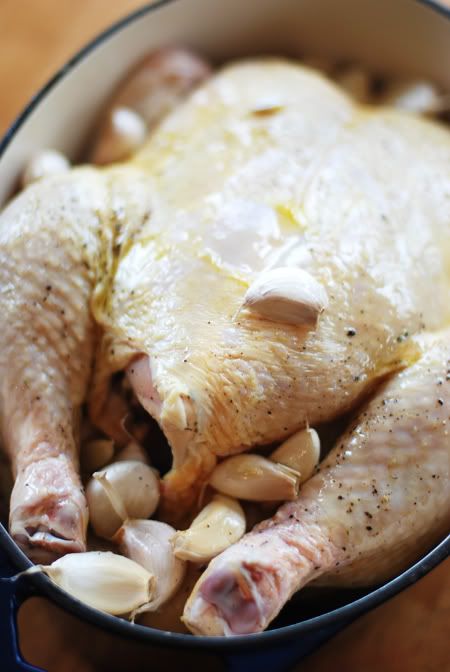
And after it was finished baking.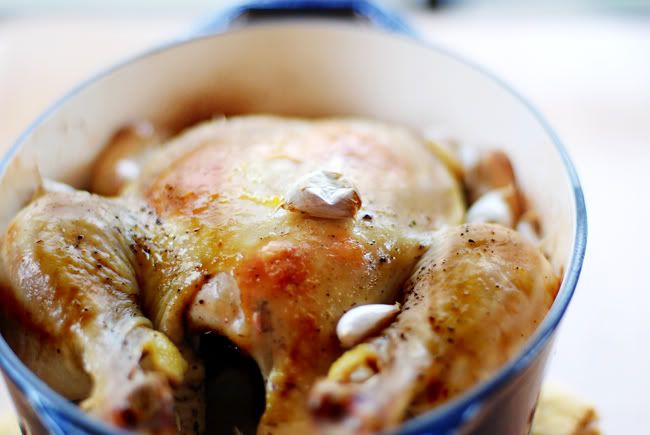
My family really liked this and since I can't eat chicken, you will have to take their word:) My friend told me to use my enameled cast iron dish like a Le Crueset and it was perfect for this. She also suggested using a farm fresh or chicken from a butcher to make it even better. I also omitted the celery as Steve really does not like the flavor of it. If you don't do wine in your cooking, I am sure you could substitute some apple juice or stock. It took about 3 1/2 heads of garlic. I made a little separate roasted garlic for me in a tinfoil packet. Cut off the top of the head of garlic and drizzle a little olive oil, a dash a wine and some salt and pepper. I sealed it up and baked in the oven while the chicken was baking. I thought the roasted garlic on the bread was just delish!!
Posted by Melanie at 4:45 PM 4 comments
Friday, March 12, 2010
apple pie muffins
Xavier was asking for apple pie the other day and while I wasn't up for making a pie, I found this recipe for apple pie muffins.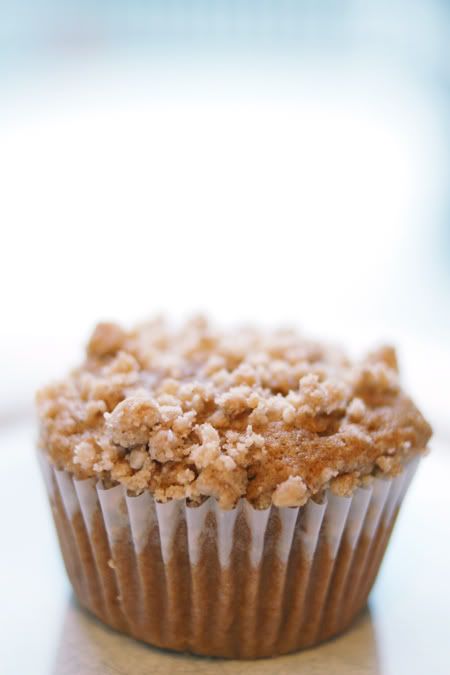
They were easy as pie...ha ha. Seriously, they were easy. The boys favorite part was adding the crumb topping to the muffins.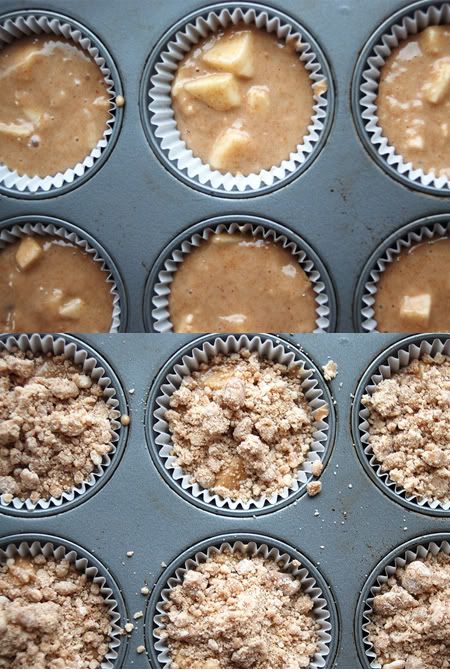
Apple Pie Muffins
FOR THE CRUMB TOPPING:
•½ cups Packed Brown Sugar
•1 cup All-purpose Flour
•¼ cups Melted Unsalted Butter
•1 teaspoon Cinnamon
•For Muffins
•1-½ cup Packed Brown Sugar
•⅔ cups Vegetable Oil
•1 whole Egg
•1-½ teaspoon Vanilla
•1 cup Buttermilk
•2-½ cups All-purpose Flour
•1 teaspoon Baking Soda
•¼ teaspoons Salt
•2 cups Diced Peeled Apples
Topping:
In a small bowl, toss together crumb topping ingredients until crumbly. You may need more flour to get a good crumble. Set aside.
Muffins:
In a large bowl, whisk together the brown sugar and wet ingredients (brown sugar, oil, egg, vanilla, buttermilk) until smooth.In a separate bowl, sift together flour, soda and salt. (I don’t have a sifter, so i just fluff/mix it up with a fork.)
Stir oil mixture and flour mixture together.Fold in apples, mixing just until combined. Batter will be a bit runny, but that’s okay.Spoon into greased muffin cups or use liners, filling 3/4 full. (The easiest way is to use a 1/4 cup measuring cup.)Sprinkle topping over evenly. (It’s easiest to use your fingers.)
Bake at 350°F for 25 to 30 minutes or until golden brown and the tops spring
back.
I subbed out half of the white flour for whole wheat and made my own buttermilk using vinegar and used yogurt for half the oil. Next time I will cut the sugar just a bit. I meant to do it this time but I had helpers and got distracted:) Someday I will tackle a good crust, but until then I have these muffins:)
Sunday, February 14, 2010
happy valentine's day
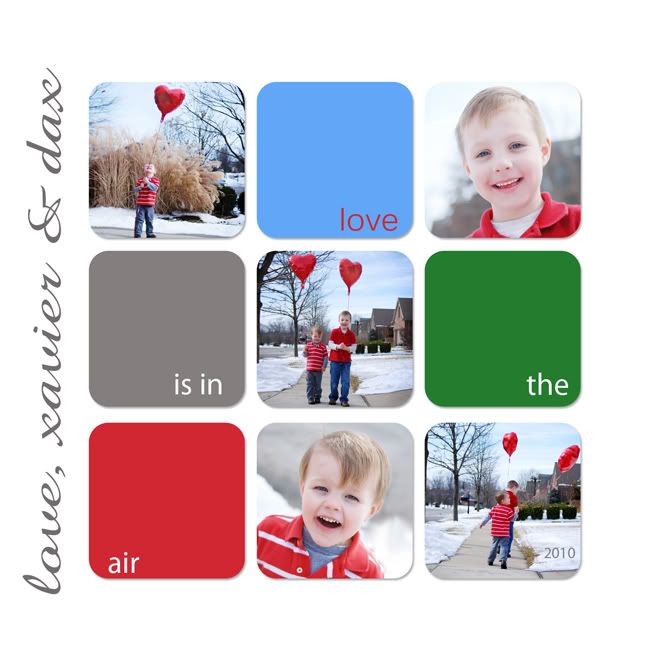
It was a busy crafting week here at the Noe place. Xavier made valentines for school. Of course we had to do Batman ones:)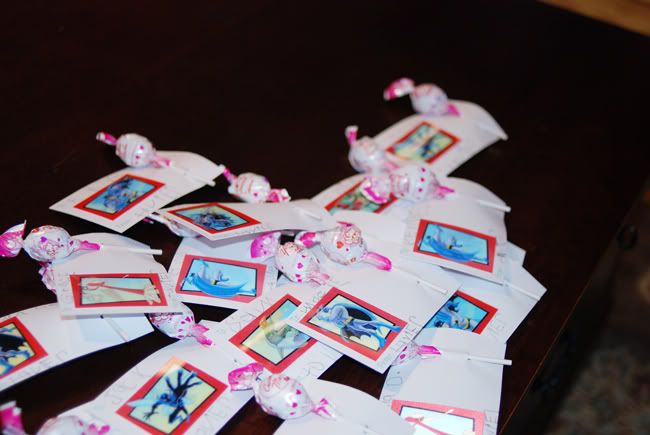
There was not room to write the names on the back of these valentines when you are just learning to write so we improvised and had room for a sucker:)
We were also hosting the Valentine Party for playgroup so we made even more valentines.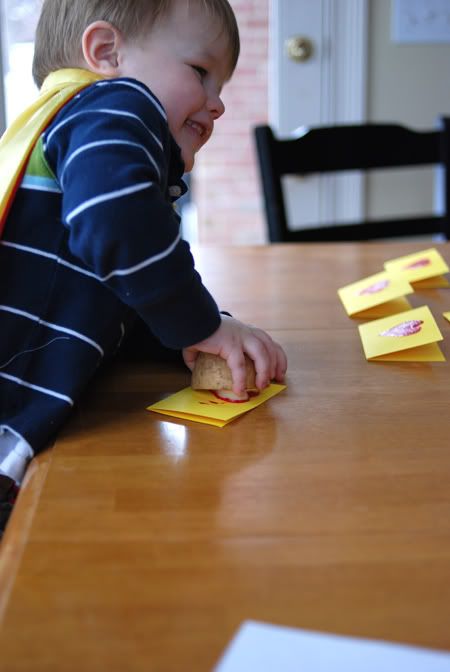
Dax wrote his name on every one himself!
We saw an idea for Xavier's valentines online and had fun making these together.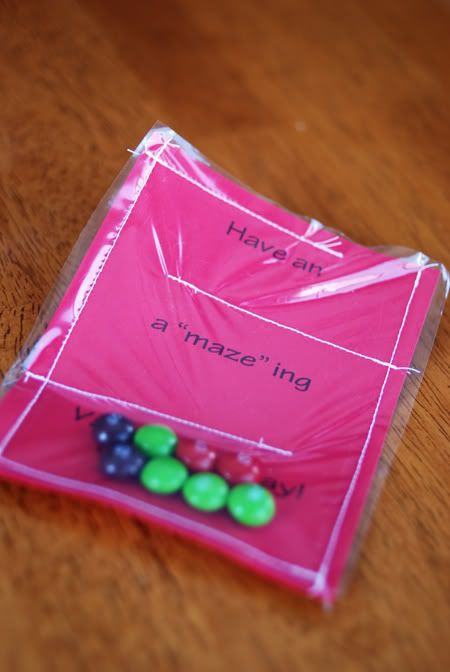
It says "Have an a"maze"ing Valentine's Day!
We put up some decorations upstairs and downstairs.
Everyone brought snacks to share and made little valentine holders at the party as a craft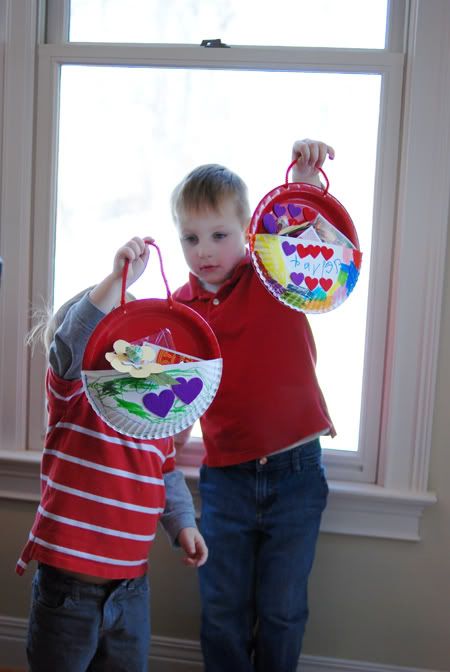
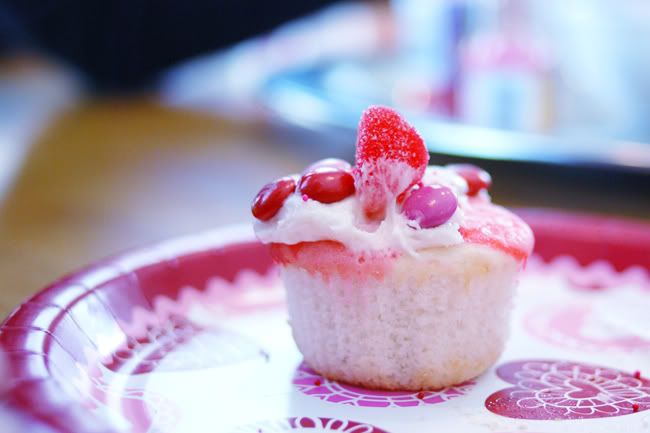
and then decorated cupcakes.
My friend sent me the link for these cupcakes and they turned out so cute. You can find that here.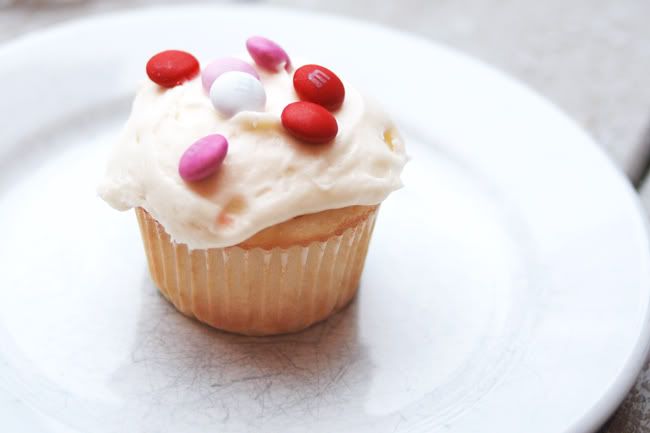
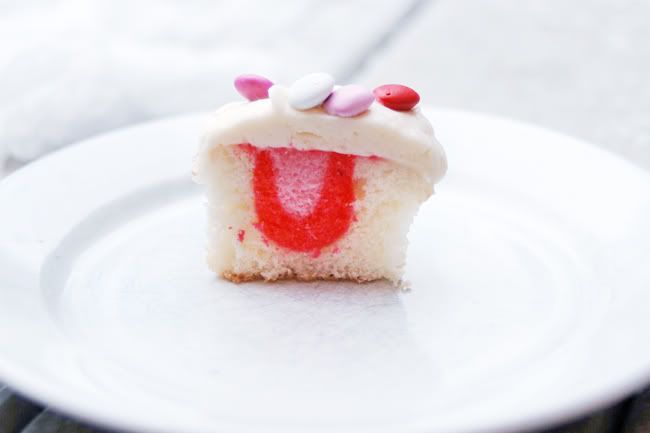
The real trick to it is to make sure to insert the tip of the baggie or pastry bag down into the cupcake and then squeeze. They were fun!!
After the party we delivered cupcakes and valentines to my friend who does story time at the library as the boys and I just love her!!
After that we took some quick valentine pictures. Not everyone was happy about all the ice and wind.
Dax had just fallen and claimed that the wind had done it!!
Xavier has his school party on Tuesday as it was supposed to be last Thurs. but many of the children didn't bring in their valentines because the weather was so bad on Tues and Wed. they could not go out to get them. And so the love fest continues:)
Sunday, February 7, 2010
"b" is 4 brownie...
I have been on a bit of a brownie kick here lately. It all started last Sunday when the boys and I found 2 new brownie recipes to make.... technically, it started when my friend brought along some fantastic chocolate chip cookie/brownie bars with fudge ganache last Friday for a little play date. (You can find that recipe here...thanks Denisha!!)
The first recipe we made was for these babies from Martha Stewart.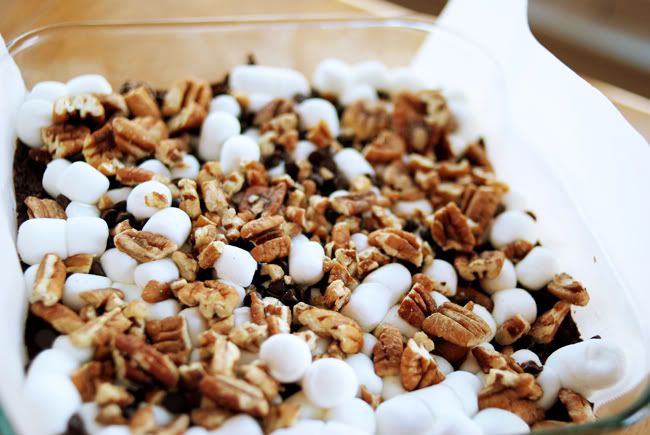
Rocky Road Brownies
1/2 cup (1 stick) unsalted butter, cut into pieces, plus more for pan
1 bag (12 ounces) semisweet chocolate chips
1/2 cup granulated sugar
1/2 cup packed light-brown sugar
1/2 teaspoon salt
2 large eggs
3/4 cup all-purpose flour (spooned and leveled)
1 cup miniature marshmallows
1/2 cup chopped nuts, such as cashews, pecans, or walnuts
1.Preheat oven to 350 degrees. Butter an 8-inch-square baking pan. Line bottom with parchment paper, leaving an overhang on two sides; butter paper.
2.In a heatproof bowl set over (not in) a saucepan of simmering water, combine butter and 1 cup chocolate chips. Heat, stirring occasionally, just until melted, 3 to 5 minutes.
3.Remove mixture from heat; stir in sugars and salt, then eggs, and finally flour, stirring just until combined. Spread batter evenly in prepared pan. Bake until a toothpick inserted in center comes out with moist crumbs attached, 30 to 35 minutes.
4.Remove from oven, and sprinkle with remaining chocolate chips, then marshmallows and nuts. Bake until chocolate is shiny and marshmallows are puffed, about 5 minutes. Cool completely in pan. Using paper overhang, lift cake onto a work surface; cut into 16 squares.
They were very good although I made a small error and didn't thoroughly read the instructions and added the whole bag of chocolate chips instead of a cup! I had to break out another bag to use on top! Ooops. They were dense and fudgey....probably due to the additional chocolate chips!
The second recipe we made was for something called Brownie Pudding. This was from the Tasty Kitchen site. This is a vintage recipe.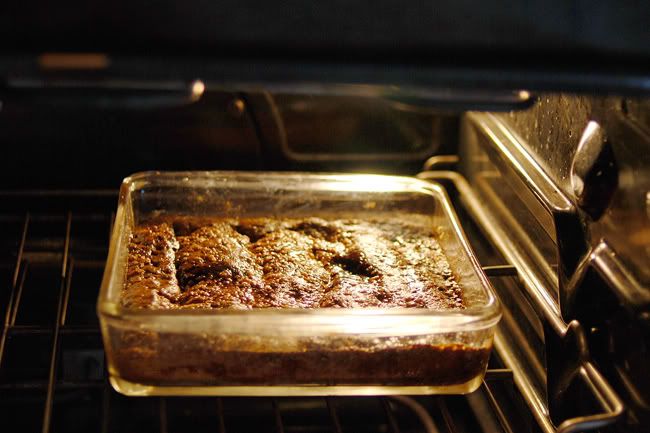
Brownie Pudding
½ cups Flour
1 teaspoon Baking Powder
⅓ cups Granulated Sugar
1 teaspoon Salt
3 Tablespoons Cocoa, Divided
¼ cups Milk
1 Tablespoon Melted Butter
½ teaspoons Vanilla
¼ packages Crushed Walnuts (optional)
½ cups Brown Sugar
•¾ cups Boiling Water
Mix flour, baking powder, granulated sugar, salt, and one tablespoon cocoa. Then add the milk, butter, and vanilla. Mix until smooth, add nuts (reserve some for sprinkling), and pour into the greased baking dish. Mix the brown sugar and the remaining two tablespoons of cocoa together then sprinkle over the batter. Also sprinkle a little bit of nuts over it, and then pour the boiling water over the top.
Bake at 350F for thirty to forty minutes, then cool before serving
After you pour the hot water on them...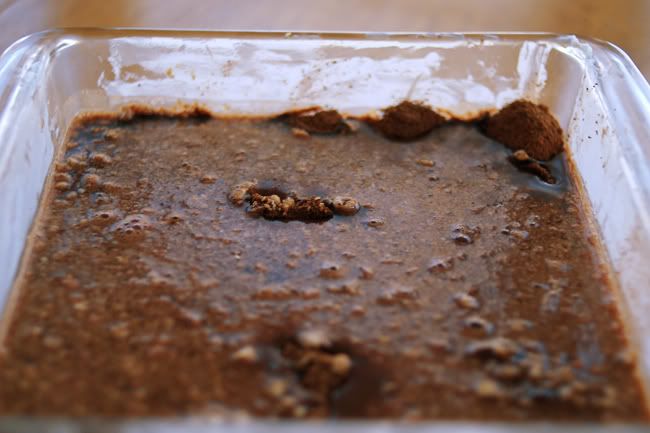
After baking.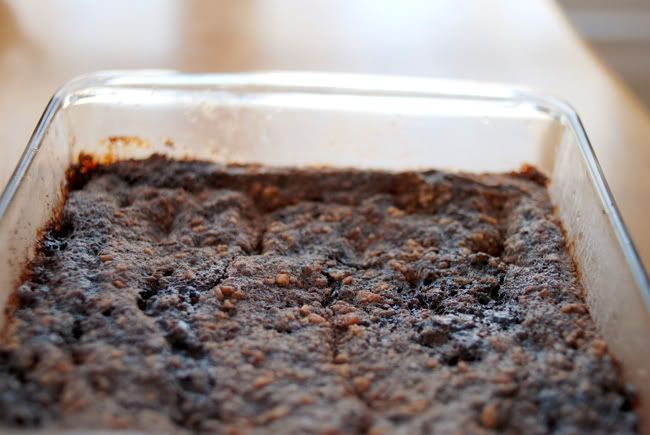
This recipe was certainly interesting and a bit odd in preparation but Steve really liked them. He liked them more than I did. I used about 1/3 cup of pecans that I chopped in the food processor. They contributed to an "oatmeal" type texture and the brownies tasted really salty to me. If I make these again, I would definitely cut down on the salt to maybe 1/4 to 1/2 tsp. They have hardly any butter and no eggs but they were very moist. They did lack they full flavor, fudgy texture of their counterparts but certainly would do in a pinch!
On Wednesday evening I made my go to recipe for homemade brownies to take to a friend's house on Thursday. I topped them with mini marshmallows, Valentine plain m&m's and mini chocolate chips and stuck them back in the oven for a few minutes to puff the marshmallows. They were so festive and cute!! Regrettably, I didn't get any pictures. Here is the recipe:
Hershey's Best Brownies
1/2 cup (1 stick) butter or margarine, melted
1 cup sugar
1 teaspoon vanilla extract
2 eggs
1/2 cup all-purpose flour
1/3 cup HERSHEY'S Cocoa
1/4 teaspoon baking powder
1/4 teaspoon salt
1/2 cup chopped nuts(optional)
1. Heat oven to 350°F. Grease 9-inch square baking pan.
2. Stir together butter, sugar and vanilla in bowl. Add eggs; beat well with spoon. Stir together flour, cocoa, baking powder and salt; gradually add to egg mixture, beating until well blended. Stir in nuts, if desired. Spread batter evenly in prepared pan.
3. Bake 20 to 25 minutes or until brownies begin to pull away from sides of pan. Cool completely in pan on wire rack.
If I have some chocolate chips on hand, I almost always throw some in the batter for an extra chocolate boost. Also, I really watch them closely as to not over bake so they are moist and fudgy.
The 4th and final recipe I made last night when we had some friends over for beef and shrimp fajitas. In sticking with the Mexican theme I found a recipe for Dulce de Leche Brownies and just had to make them!!
Look at these!!! The caramel didn't melt into the brownie but rather made little caramel pockets throughout.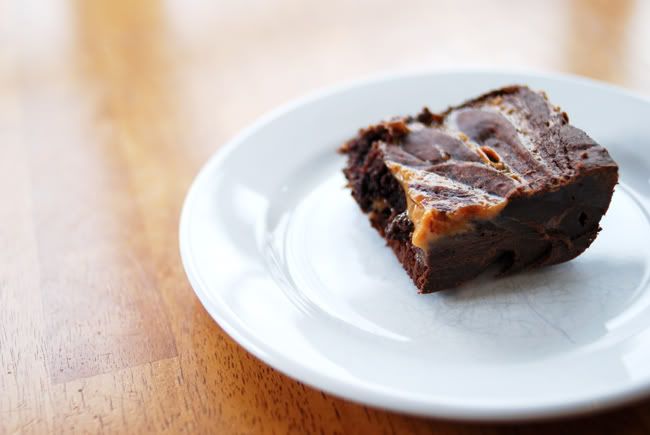
Dulce de Leche Brownies
8 tablespoons (115g) salted or unsalted butter, cut into pieces
6 ounces (170g) bittersweet or semisweet chocolate, finely chopped
1/4 cup (25g) unsweetened Dutch-process cocoa powder
3 large eggs
1 cup (200g) sugar
1 teaspoon vanilla extract
1 cup (140g) flour
optional: 1 cup (100 g) toasted pecans or walnuts, coarsely chopped
1 cup Dulce de Leche (or Cajeta)
Preheat the oven to 350 degrees (175 C).
Line a 8-inch (20 cm) square pan with a long sheet of aluminum foil that covers the bottom and reaches up the sides. If it doesn't reach all the way up and over all four sides, cross another sheet of foil over it, making a large cross with edges that overhang the sides. Grease the bottom and sides of the foil with a bit of butter or non-stick spray.
Melt the butter in a medium saucepan. Add the chocolate pieces and stir constantly over very low heat until the chocolate is melted. Remove from heat and whisk in the cocoa powder until smooth. Add in the eggs one at a time, then stir in the sugar, vanilla, then the flour. Mix in the nuts, if using.
Scrape half of the batter into the prepared pan. Here comes the fun part.
Drop one-third of the Dulce de Leche, evenly spaced, over the brownie batter, then drag a knife through to swirl it slightly. Spread the remaining brownie batter over, then drop spoonfuls of the remaining Dulce de Leche in dollops over the top of the brownie batter. Use a knife to swirl the Dulce de Leche slightly.
Bake for 35 to 45 minutes. The brownies are done when the center feels just-slightly firm. Remove from the oven and cool completely.
I used Ghiradelli semi sweet chips and made my own Dulce de Leche by gently boiling an unopened can of sweetened condensed milk (label removed) for 3 hours on the stove. I checked it often to be sure that the water stayed high enough to come to the top of the can. Cool completely and then open the can. Inside you will find a delicious caramel. I have heard that it can explode if you let the pan boil dry. If you think this sounds risky....just try it, the brownies are totally worth it. Refrigerate any leftover caramel, or simply eat the remainder with a spoon!! This is definitely up there with my favorite brownie recipe!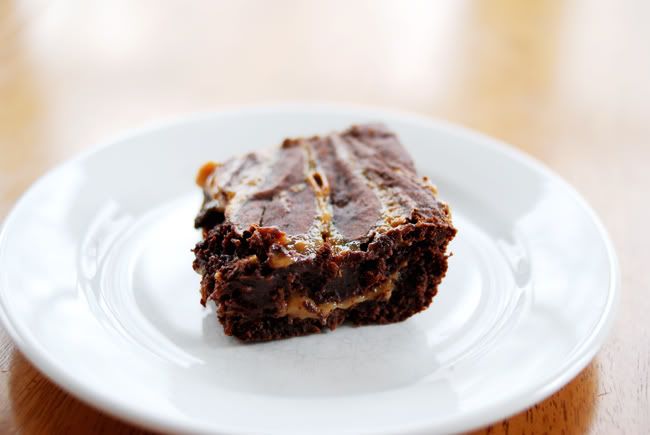
Posted by Melanie at 8:30 PM 1 comments
Thursday, January 28, 2010
"name your bean" hummus
My general hummus recipe goes something like this:
Hummus
1 can chickpeas or other bean, drained and rinsed
1 clove garlic
2-3 T. tahini
1/2 t. cumin
juice of one lime or 1/2 lemon
2-3 T olive oil
dash of hot pepper flakes or cayenne
Place in food processor and process until smooth. Add a couple of T of water if it is too thick. Season with salt and pepper to taste.
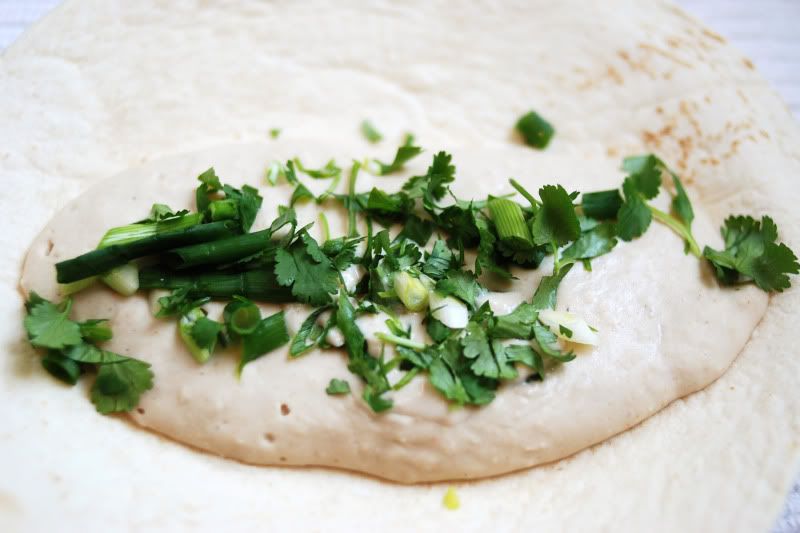
I happened to have some green onions on hand so I threw a couple of those in there too and blended them up just for fun. I put some in a tortilla and topped with some cilantro and a little more green onion and lunch was served. If I would have had some pita bread, cucumber, sprouts and maybe a little red pepper it would have been divine!! Regardless, it sure beat peanut butter! I made it again with black beans the next day and it would have been great on some tortilla or pita chips....if I wasn't too lazy, I mean busy, to go out and get them!!
Will the kids eat this?? Xavier, of course! Dax? Not a chance. NO WAY! Not even with a GOOD bribe.
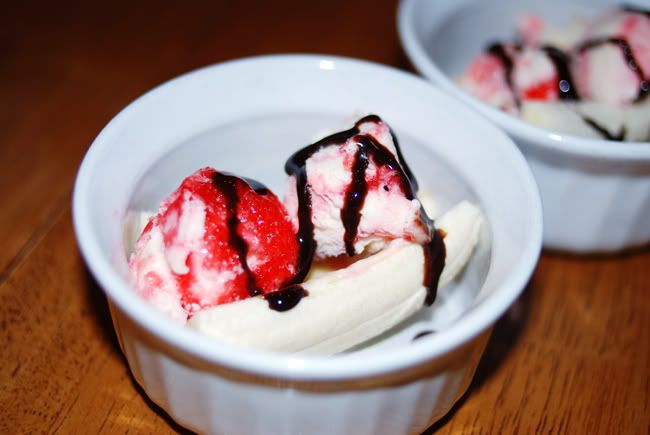

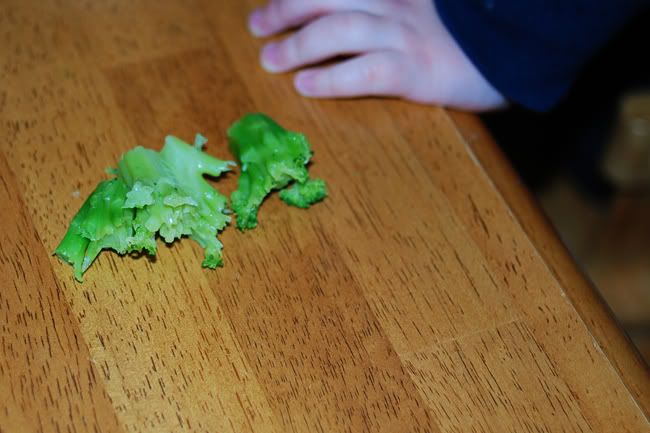
You have got to give him credit for trying!!
Thursday, December 31, 2009
goodbye december
We certainly enjoyed you!!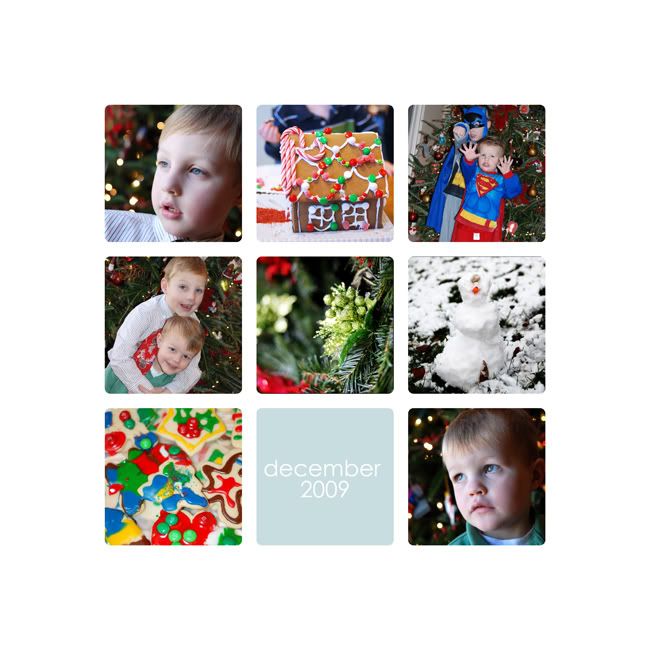
I have one last recipe to share this year. I had been looking for a new sugar cookie recipe that tasted like a sugar cookie that we made all the time growing up called "Mary's Sugar Cookies" but that held its shape better for cutouts. I think I finally found it on Tasty Kitchen of course:) You can find it here.
And her icing is dynamite too. Found here. (Thanks Amanda!)
Posted by Melanie at 10:01 PM 2 comments
Tuesday, December 22, 2009
my big boy turns 5!!!
Xavier turning 5 was a big deal to both he AND I! For him, it means really being a big boy and closer to loosing his teeth (which he is pretty much obsessed with but has zero loose teeth). For me, it means that he is no longer my baby and that he is closer to growing into too big of a boy. The fact that I can still lift him and cuddle him are 2 things that I will sadly miss when they are gone!!! BUT that won't be for a very long time so I am not going to worry about that today:) Xavier is a joy and a blessing and I am so happy that he made me a MOM. It is and was the best Christmas gift I have ever been given.
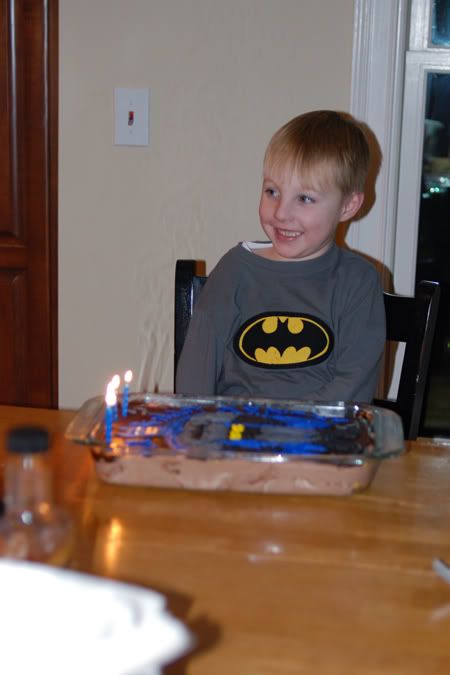
We celebrated his b-day earlier in the month with some friends and family. For that he requested cupcakes AND cake. I made him choose between the two and he decide on this....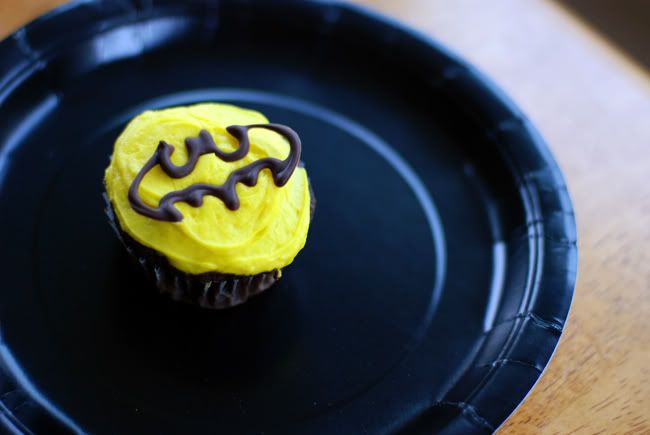
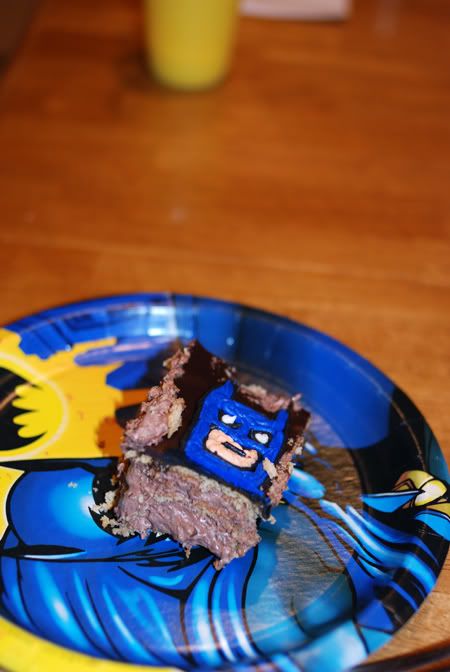
For his actual birthday he requested a Batman cake. Great, I thought. Frost the cake, stick an action figure in it and call it a day!! When I ran my idea by the b-day boy, it was not what he envisioned. "I thought you could draw a Batman on the cake Mom!" Sure ...why not??? Of course that is what you want. So I drew Batman for the 698th time this month on the cake. We did a sketch on a piece of paper beforehand; deciding what colors were going where. The spikes on his glove must be blue and so is the cape. Don't forget the yellow for his belt.... "Can I give him a smile?" I asked. No...just do a line for the mouth, I was told. Here he is!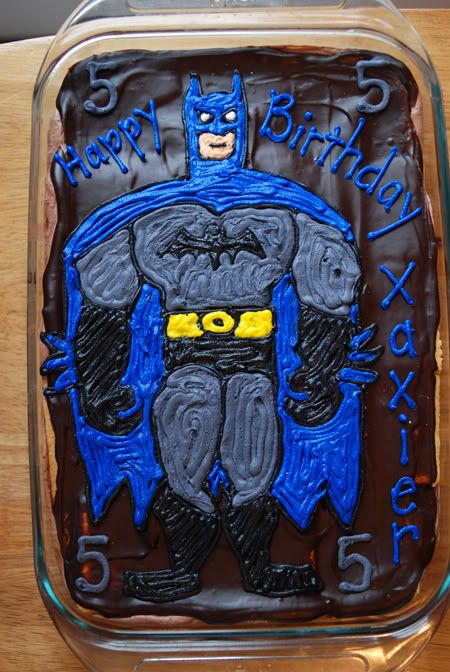
Instead of cake, I made an eclair cake which has been in the Noe family for a long time.
ECLAIR CAKE
1 (1 lb.) box graham crackers
2 sm. pkg. instant French vanilla pudding
4 c. milk
1 (8 oz.) container Cool Whip
Butter bottom of 9 x 13 inch pan, line with graham crackers. Mix pudding with the milk. Beat at medium speed for 2 minutes. Blend in Cool Whip. Pour half the mixture over graham crackers, then place second layer of crackers over pudding. Pour remaining pudding mixture over, and cover with more crackers. Refrigerate for 2 hours, then frost.
FROSTING FOR ECLAIR CAKE:
2 1 oz. pkg. pre-melted unsweetened chocolate
2 T. white Karo corn syrup
2 tsp. vanilla
3 T. softened butter
1 1/2 c. powdered sugar
3 T. milk
Beat all ingredients until smooth; spread over cake. Refrigerate 24 hours.We used chocolate pudding per Xavier's request:)
THANK YOU family for all of the wonderful gifts you sent for Xavier. Each was very much appreciated by the birthday boy. Here are some opening pics.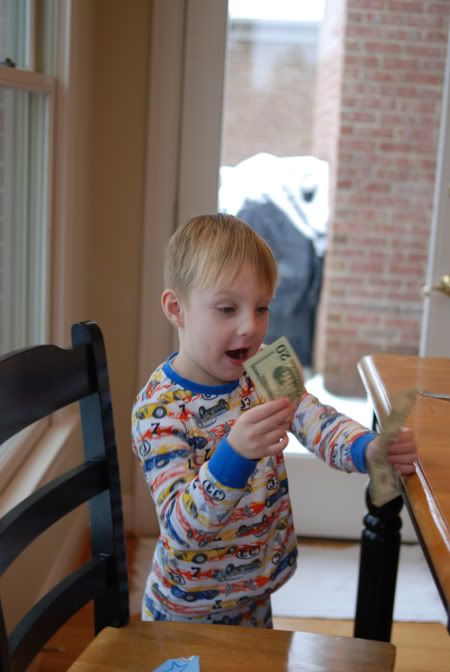
A funny comment when Xavier opened his card from MN Aunt Mary. "Oh!!!! Dollars!!! Will these spend at Wendy's????"
Legos from Grandpa and Grandma Lein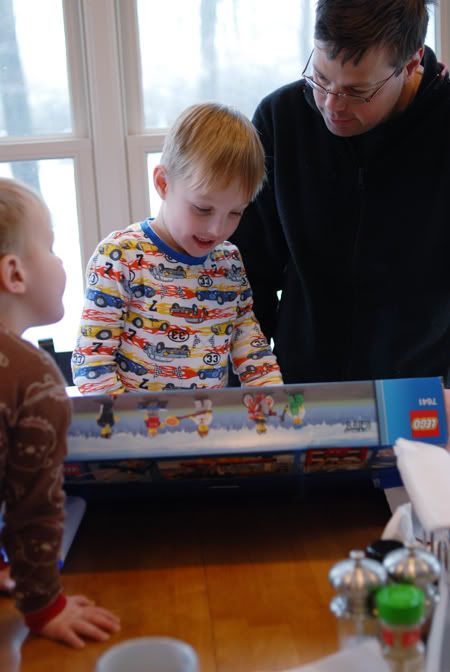
Cool space projector from Aunt Aimee
Scooter from "Grandma from MN"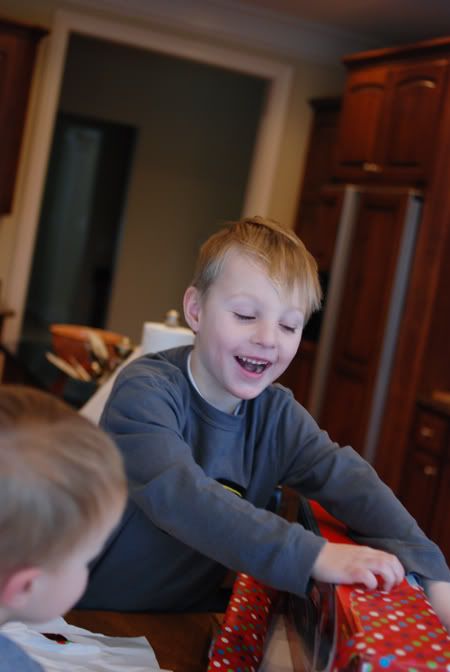
We also carried on the tradition of letting the birthday person choose dinner. We made chicken nuggets and fries AND green beans.
Happy Birthday to Xavier!