So often when I sew something I never get to see how the outfit looks on a real body. Mainly because I am sewing for girls and because my boys do NOT want to wear these creations...even if I beg and bribe. The other day I just finished up this.
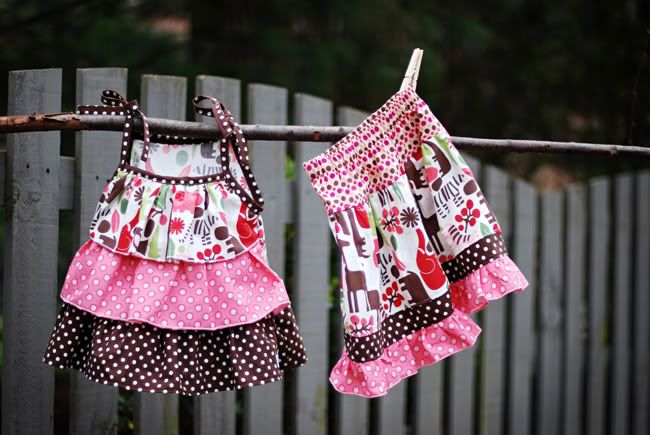
I really wanted to see how the little shirt with all of those ruffles looked when a little body twirled in it and I wanted to check it for size. I had Dax try it on.
Me: Dax, could you twirl for me?
Dax: Tweerl??
Me: Yes...could you twirl please?
Dax: No.
Me: Really??? You won't spin around for me?
Dax: No.
Me: Come on... turn around in circles.
(Dax lamely and slowly turns around for me...looking pitiful.)
Me: OK let's get this off....before you pee on it. (An entirely different subject.)
Here are a 3 sibling dresses and a matching tie for the brother.
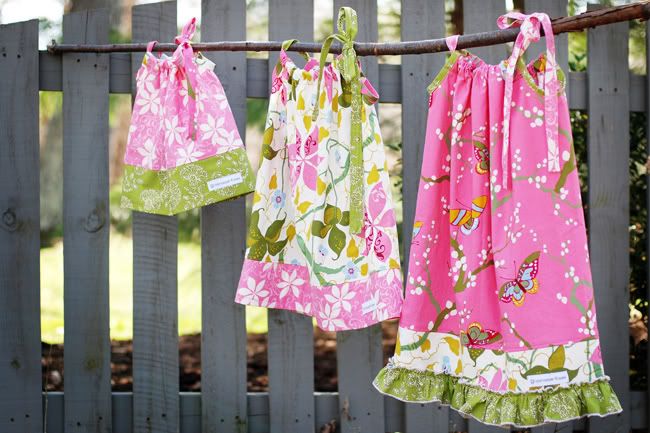
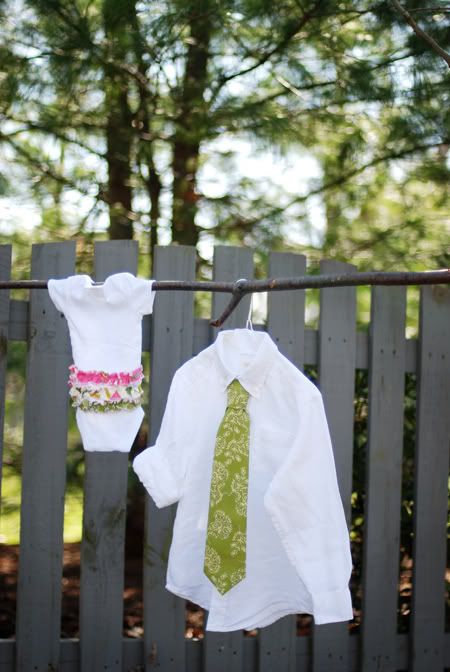
I have been working on a few more things but want the recipients to get them before they see them on the blog:)
Tuesday, March 30, 2010
if my boys would twirl...
Posted by Melanie at 10:18 PM 7 comments
Saturday, March 13, 2010
chicken with forty cloves of garlic
Many of you know my love for reading cookbooks and even occasionally trying a recipe from them:) My MIL got me Julia Child's cookbook, Mastering the Art of French Cooking, for Christmas which I have been reading and we recently had some delicious food at friend's house from a new recipe book of hers that is french. Now I am more than intrigued. My friend has let me borrow a couple of her cookbooks. The first recipe I tried out is chicken with forty cloves of garlic.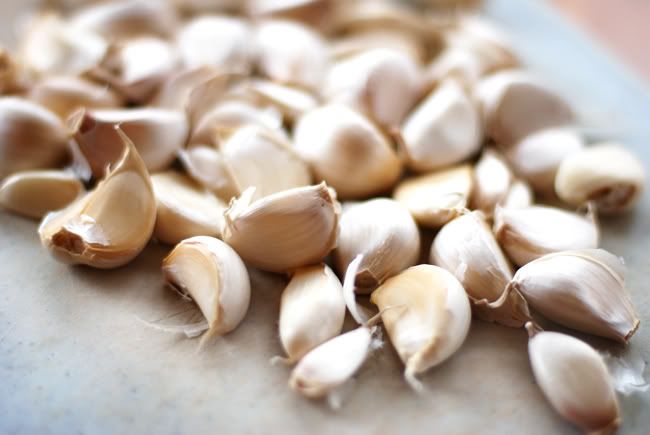
Chicken with Forty Cloves of Garlic
2 celery stalks, including leaves
2 springs of rosemary
4 sprigs of thyme
4 sprigs of flat leaf parsley
1 3 1/2 lb. whole chicken
40 cloves of garlic, unpeeled
1 carrot, roughly chopped
2 T. olive oil
1 small onion
1 cup white wine
1 baguette, cut into slices
Preheat the oven to 400. Put a chopped celery stalk and 2 sprigs each of rosemary, thyme and parsley into the chicken cavity. Add 6 cloves of garlic. Tie the legs together and tuck the wing tips under.
Brush the chicken with olive oil and season with salt and pepper well. Scatter 10 more garlic cloves over the base of a large covered casserole or roasting pan. (Use a dish into which the chicken and vegetables fit quite snugly so that the flavors mingle well.) Put the remaining sprigs of herbs, chopped celery, carrot and onion into the baking dish.Put the chicken into the dish. Scatter the remaining garlic cloves around the chicken and add any remaining olive oil and the wine.
Cover and bake for 1 hour 20 minutes or until the chicken is tender an the juices run clear when the thigh is pierced with a skewer.
To serve, carefully lift the chicken out of the dish. Strain off the juices into a small saucepan. Use tongs to pick out the garlic cloves from the strained mixture. Spoon off fat from the juices and boil for 2-3 minutes to reduce and thicken a little.
Cut the chicken into serving portions on a platter, pour over a little of the juices and scatter the garlic cloves. Toast the baguette slices and serve the bread to be spread with the soft flesh squeezed from the garlic.
Here is my chicken before I put it in the oven. I could not find my cotton string anywhere so I just left the legs flop. Tying the legs keeps them close to the body of the chicken and they won't cook as fast. Be sure to use cotton string and not nylon, as nylon will melt in the oven.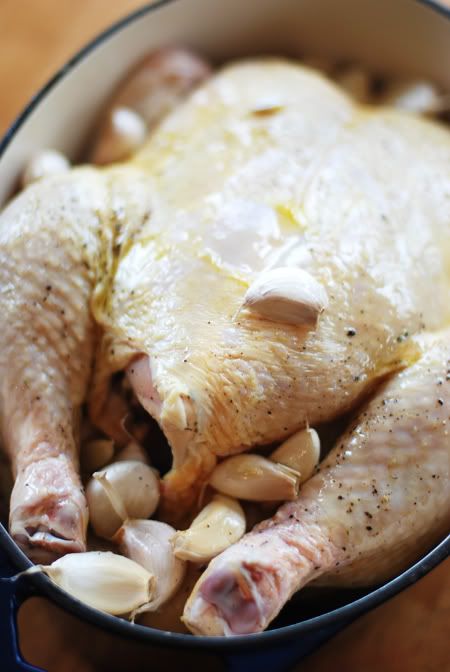
And after it was finished baking.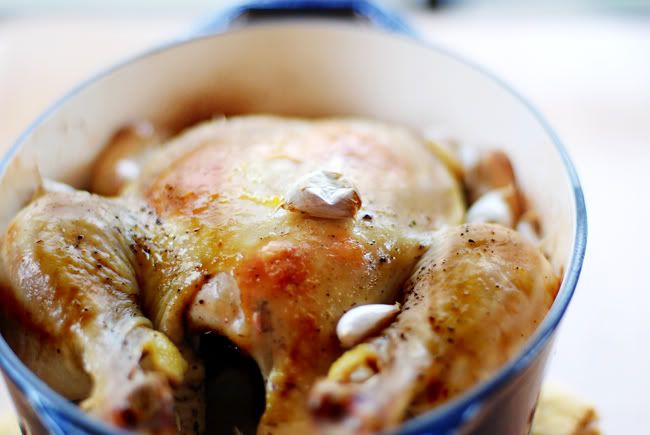
My family really liked this and since I can't eat chicken, you will have to take their word:) My friend told me to use my enameled cast iron dish like a Le Crueset and it was perfect for this. She also suggested using a farm fresh or chicken from a butcher to make it even better. I also omitted the celery as Steve really does not like the flavor of it. If you don't do wine in your cooking, I am sure you could substitute some apple juice or stock. It took about 3 1/2 heads of garlic. I made a little separate roasted garlic for me in a tinfoil packet. Cut off the top of the head of garlic and drizzle a little olive oil, a dash a wine and some salt and pepper. I sealed it up and baked in the oven while the chicken was baking. I thought the roasted garlic on the bread was just delish!!
Posted by Melanie at 4:45 PM 4 comments
Friday, March 12, 2010
apple pie muffins
Xavier was asking for apple pie the other day and while I wasn't up for making a pie, I found this recipe for apple pie muffins.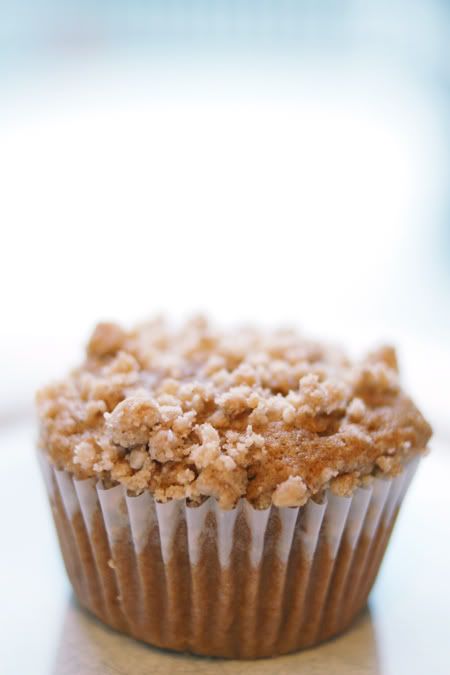
They were easy as pie...ha ha. Seriously, they were easy. The boys favorite part was adding the crumb topping to the muffins.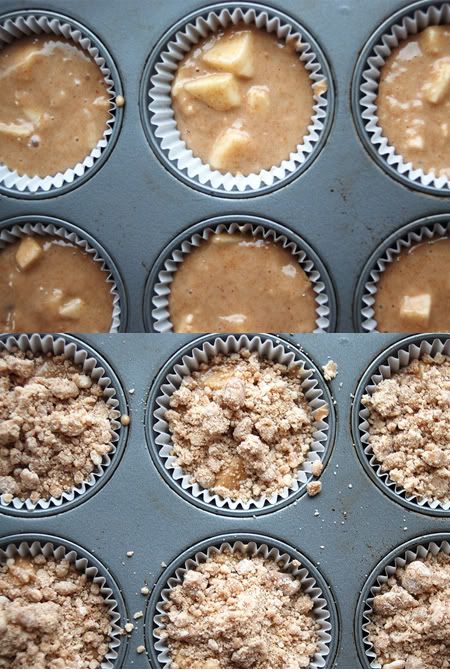
Apple Pie Muffins
FOR THE CRUMB TOPPING:
•½ cups Packed Brown Sugar
•1 cup All-purpose Flour
•¼ cups Melted Unsalted Butter
•1 teaspoon Cinnamon
•For Muffins
•1-½ cup Packed Brown Sugar
•⅔ cups Vegetable Oil
•1 whole Egg
•1-½ teaspoon Vanilla
•1 cup Buttermilk
•2-½ cups All-purpose Flour
•1 teaspoon Baking Soda
•¼ teaspoons Salt
•2 cups Diced Peeled Apples
Topping:
In a small bowl, toss together crumb topping ingredients until crumbly. You may need more flour to get a good crumble. Set aside.
Muffins:
In a large bowl, whisk together the brown sugar and wet ingredients (brown sugar, oil, egg, vanilla, buttermilk) until smooth.In a separate bowl, sift together flour, soda and salt. (I don’t have a sifter, so i just fluff/mix it up with a fork.)
Stir oil mixture and flour mixture together.Fold in apples, mixing just until combined. Batter will be a bit runny, but that’s okay.Spoon into greased muffin cups or use liners, filling 3/4 full. (The easiest way is to use a 1/4 cup measuring cup.)Sprinkle topping over evenly. (It’s easiest to use your fingers.)
Bake at 350°F for 25 to 30 minutes or until golden brown and the tops spring
back.
I subbed out half of the white flour for whole wheat and made my own buttermilk using vinegar and used yogurt for half the oil. Next time I will cut the sugar just a bit. I meant to do it this time but I had helpers and got distracted:) Someday I will tackle a good crust, but until then I have these muffins:)
Thursday, March 11, 2010
and he is off.
On a whim I took the training wheels off of Xavier's bike. I have no idea why I did it. It wasn't as if he was actually showing signs of being able to ride his bike....in fact, he has been on his bike maybe once in the last 3 months. Even so, I decided that yesterday, in the 60+ degree weather we were having, that it was as good of day as any to start to learn. Xavier was skeptical to say the least. So we went out and learned to ride.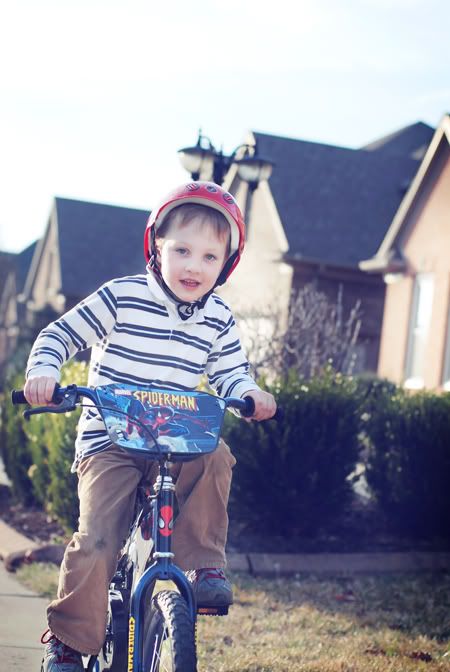
And then we waited for Daddy to get home to surprise him with what we had learned.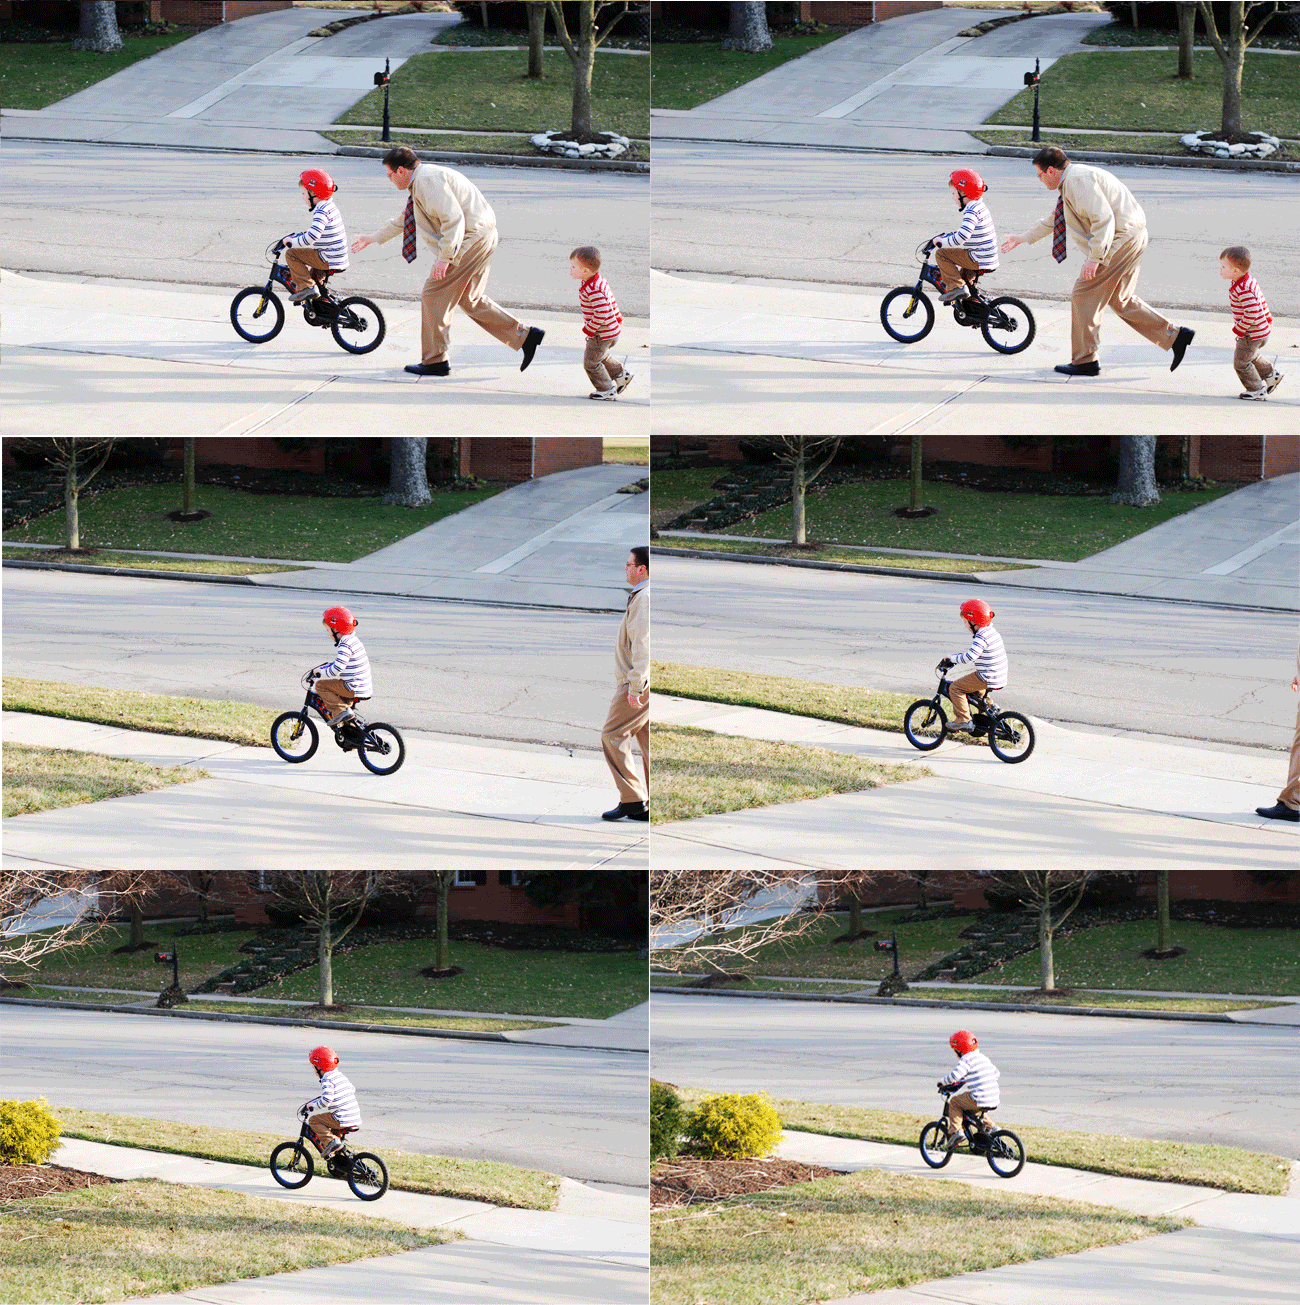
**This is not video but photos made into animation*** I have not attempted to mess with the video from the video camera....yet.
Xavier was so proud of himself....and he should be:)
Of course we had a few of these too!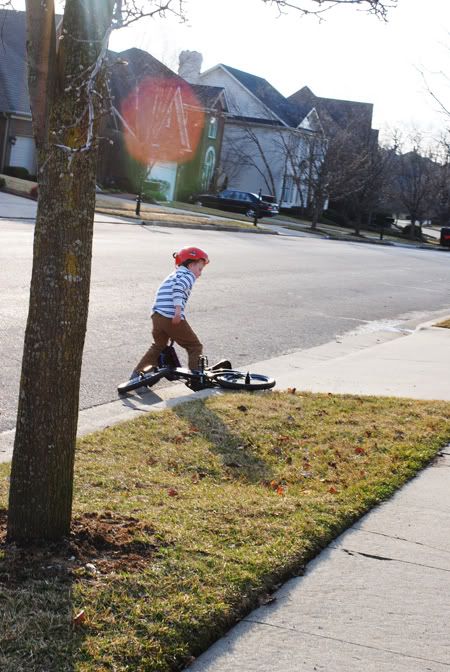
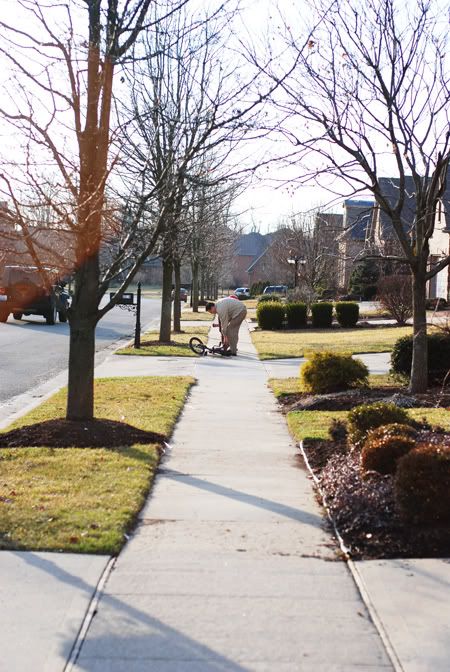
Being 5 sure is fun!!!
Posted by Melanie at 8:51 AM 1 comments
Wednesday, March 10, 2010
happy b-day
to my "older" (wink**wink**) husband!!
The boys wanted to make a special dessert for Daddy and we talked about making him a giant chocolate ship cookie because he loves cookies so much. But we couldn't tell him because we wanted to keep it a surprise. After we decided on it, X asked Steve at dinner a few days before, what his favorite dessert was.
Steve: Well, I like eclair cake...
X: What else?
Steve: I really like berry cobbler...
X: Is there anything else?
Steve: Well.... I like chocolate chip cookies!
X: (smiling huge)Well, I am not not going to nod my head...
Steve: So I guess it will have to be a big surprise then!
So as a big surprise we made Steve this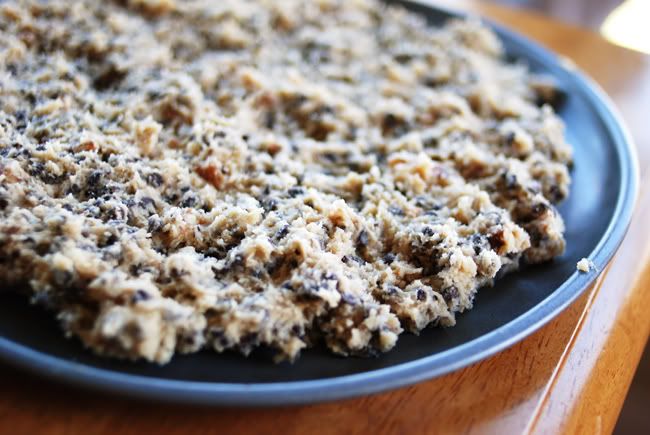
Xavier helped me make the cookie dough. After that, he helped to clean up by doing this
and this
He also helped to choose the right blue.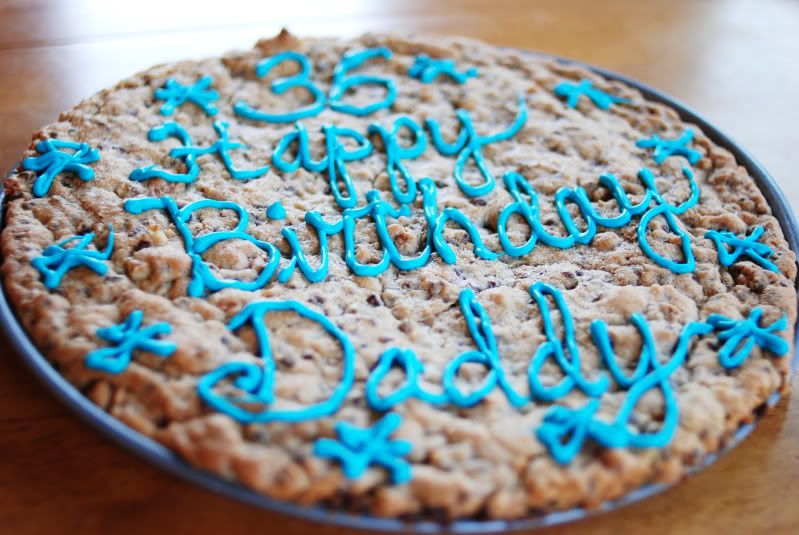
It was a nice day. By chance Steve had the day off. He and Dax went to get haircuts.
We fed the kids early and then had a "date" and made homemade crab cakes and scallops for dinner and had his special cookie for dessert.
I asked Steve if he wanted a candle and at first he refused. I asked him if he was sure about that. After all, you only get to have a birthday wish once a year...he reconsidered and blew out the candle. At what point do the candles stop being better than the cake??? Not yet... although the cookie was delicious!!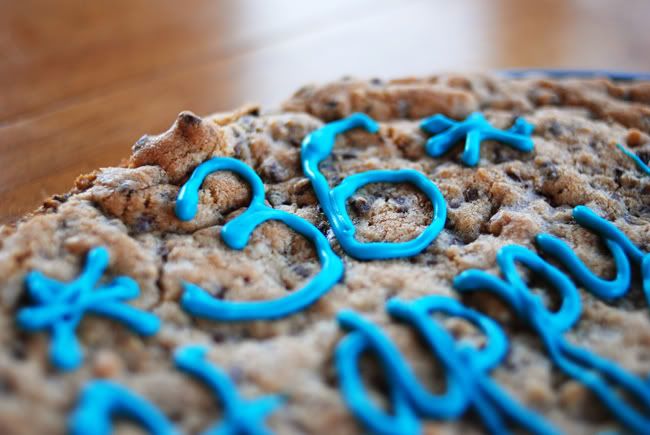
***We just used the regular Toll House chocolate chip cookie recipe and added pecans. I then spread about 2/3 of the dough on a pizza pan and baked it at 325 until it looked done. I used a cookie scoop on the rest of the dough, put them on parchmant and stuck them in the freezer to harden. After I remembered that they were in the freezer, I took them off the parchamet and stuck them into a ziplock freezer bag to bake later. I have made a giant cookie before using all the the dough and it was BIG disaster, with dough oozing over the pan and all over the oven. Lesson learned there!! My MIL also has made this with the chocolate chip cookie bar recipe with good results.
Posted by Melanie at 10:26 PM 1 comments
Monday, February 22, 2010
potato stamp tutorial
I had been wanting to make a potato stamp for a while now. When we were thinking of ideas for Dax's valentines, the "tato" stamp again came to mind as something fun to try. I took some pictures as I went and thought I would make a quick tutorial in the event that you want to try this fun activity.
Get yourself a nice size potato. Since my 3 year old was going to be the main stamper, I wanted something to fit nicely in his hand.
Cut the potato in half.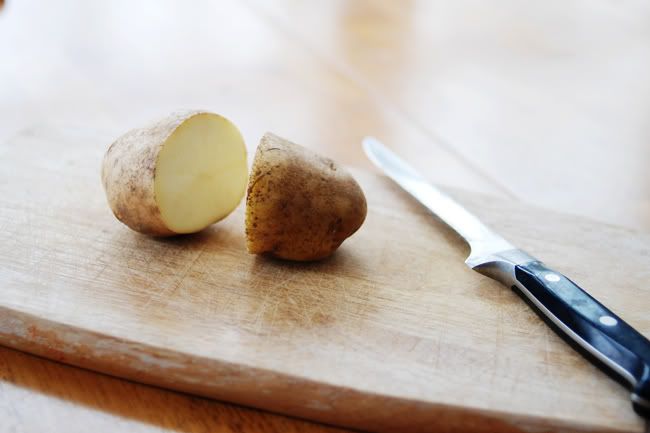
Be sure to cut it in half with a straight cut. I didn't pay much attention and didn't really cut all that straight resulting in a stamp that was not totally flat. Of course, I didn't notice that it was not flat until I loaded it up with paint and and tried it.
Sketch out your design on the potato. 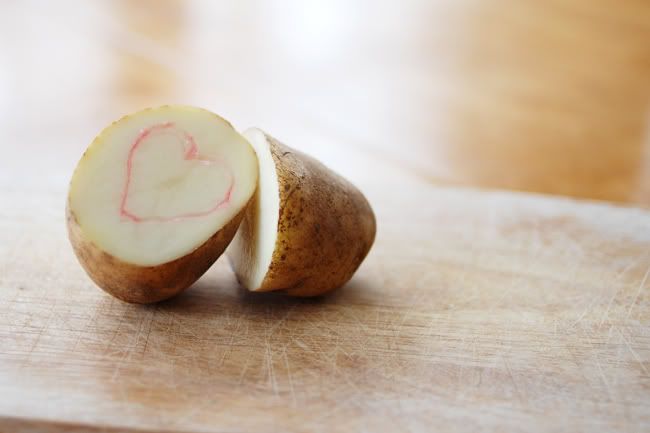
We chose a heart for Valentine's Day. I also wanted something simple for my first try. I just used a colored pencil because that was the first pencil that I grabbed.
Start to carve out your design.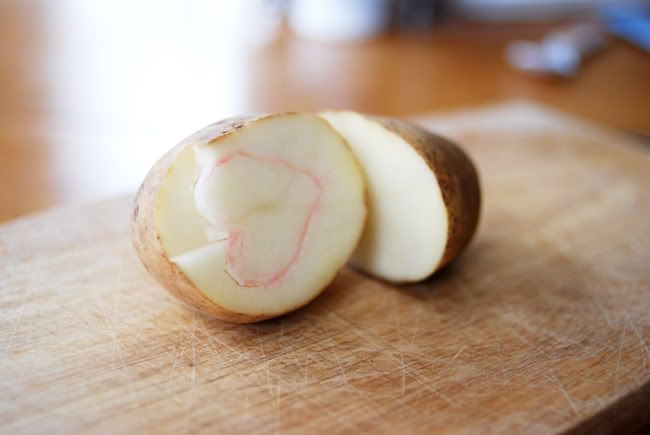
I first traced the design with the tip of the knife going about as deep as I thought the stamp should be. I wanted to make the relief fairly thick because I didn't want the 3 year old stamper to have any issues getting paint where he wouldn't want it. I found it easiest to remove small pieces after I traced the design with the knife tip first.
Continue to remove small pieces until you get the rough shape of the stamp.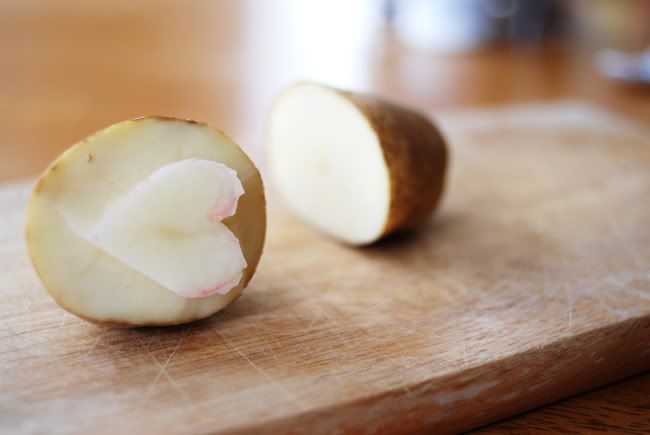
With the knife, clean up your edges on the stamp like so.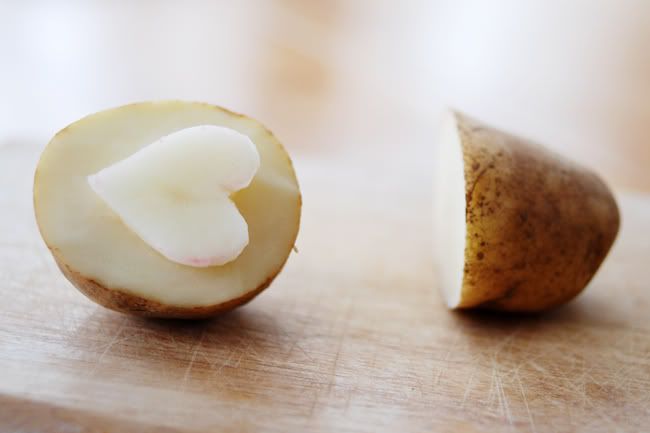
Time to test it out. My very crafty friend shared this helpful tip. Save your styrofoam that meat comes packaged in to use as a paint tray or craft tray. When the kids are finished just wash and reuse or just throw away.(Thanks Andrea!!)
We used some red paint and some red glitter glue and mixed them together.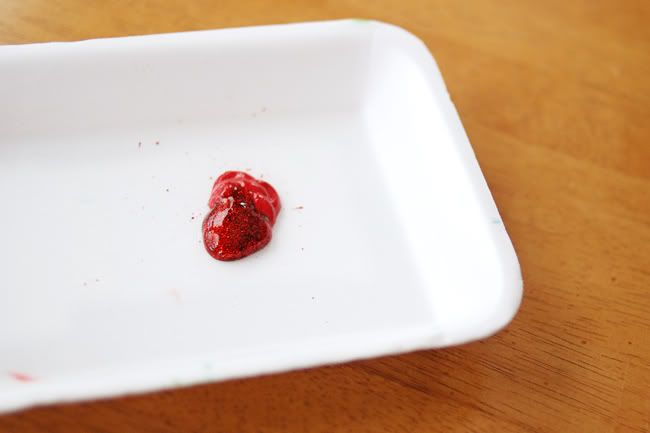
Load up your stamp by pressing it into the paint.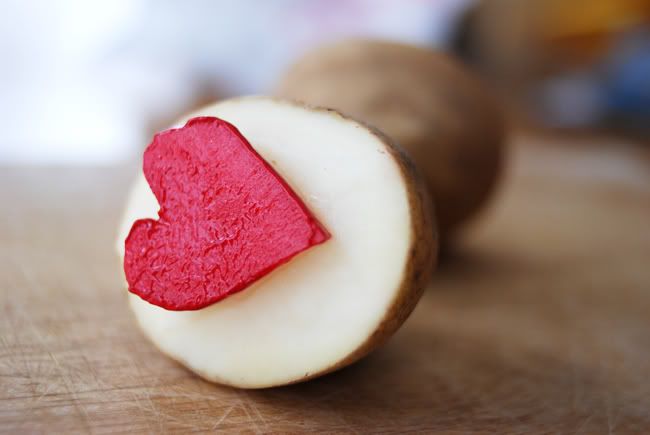
Find yourself a cute little helper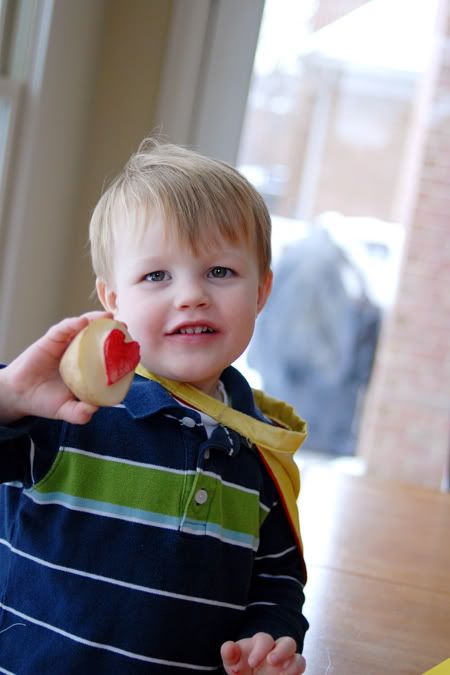
and press the stamp onto your paper or card stock.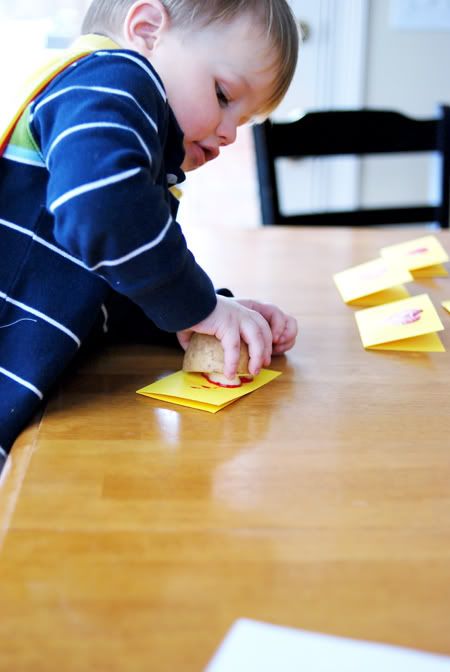
Press firmly and try not to move it around. Smile because you are actually doing it yourself.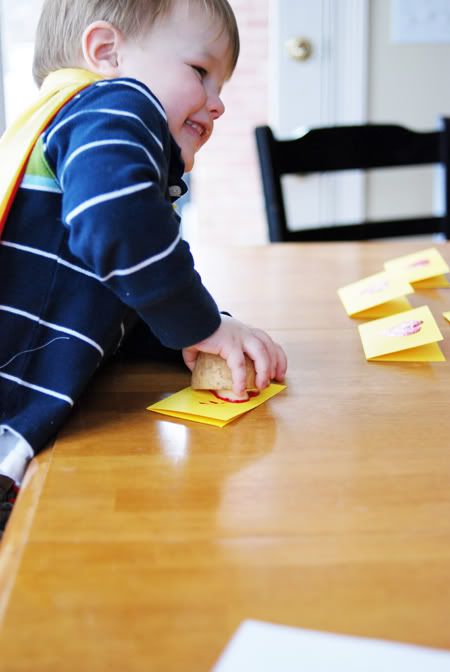
Here it is. Perfectly imperfect. The glitter didn't show up until after it dried and had a subtle effect. 
Big brother really wanted to get in on the action too, so to maintain your sanity, use the other half of the potato to make another stamp at the same time and don't let anyone touch them until both stamps are finished!!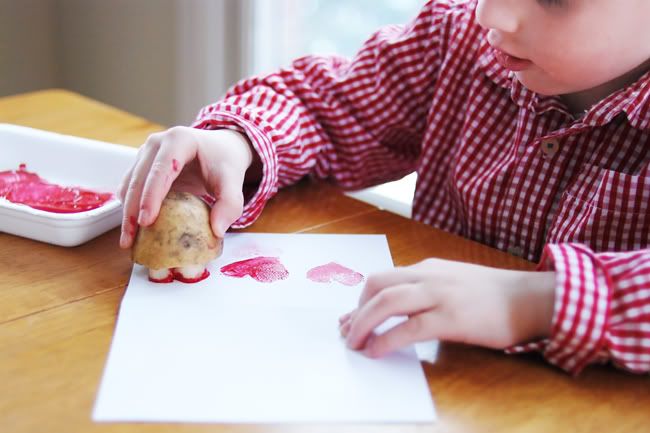
Here is what we did with the other half. 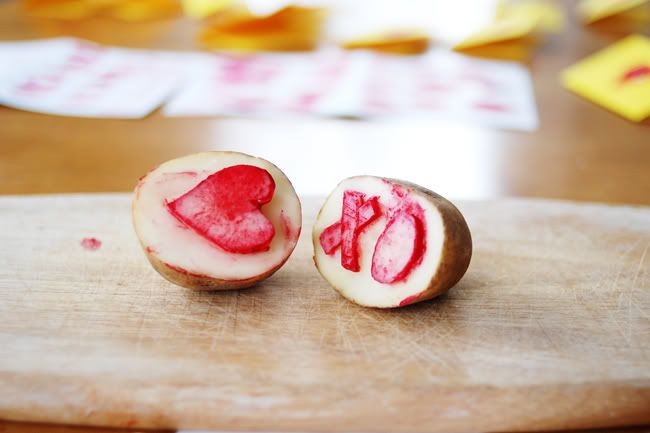
Initials, numbers, shapes.... get creative. We stuck with simple this time.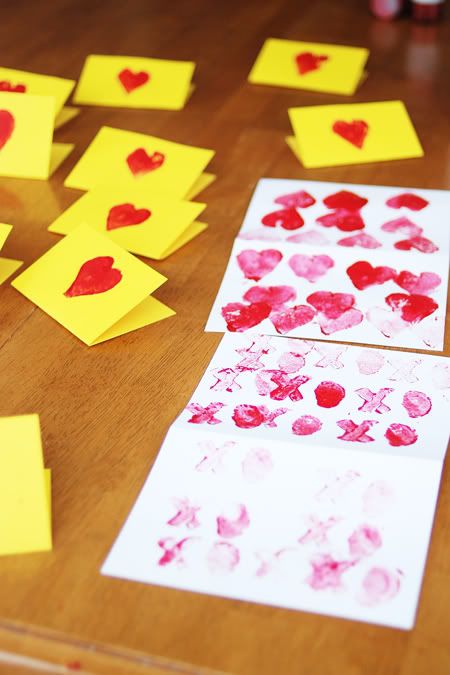
You can get different effects by stamping more than once without loading up paint. More than one color of paint would have been fun too. It was a great time...the possibilities are endless and the potatoes are plentiful:)
Posted by Melanie at 9:31 PM 190 comments
Sunday, February 14, 2010
happy valentine's day
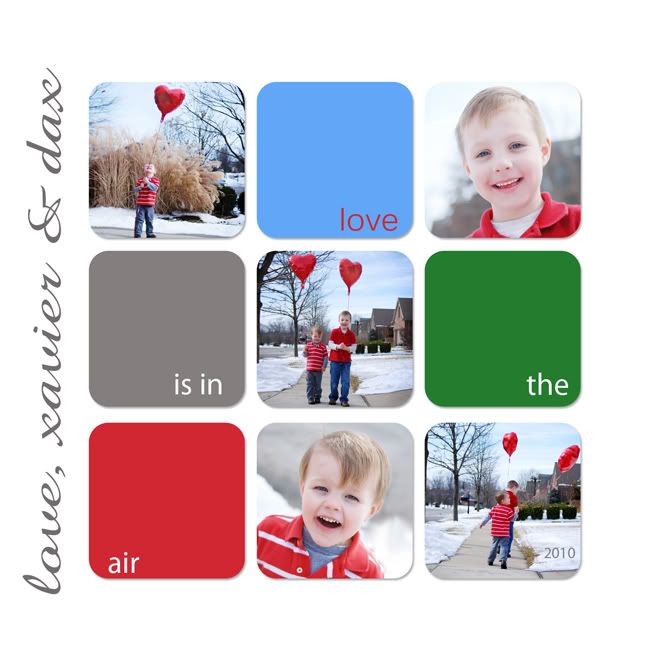
It was a busy crafting week here at the Noe place. Xavier made valentines for school. Of course we had to do Batman ones:)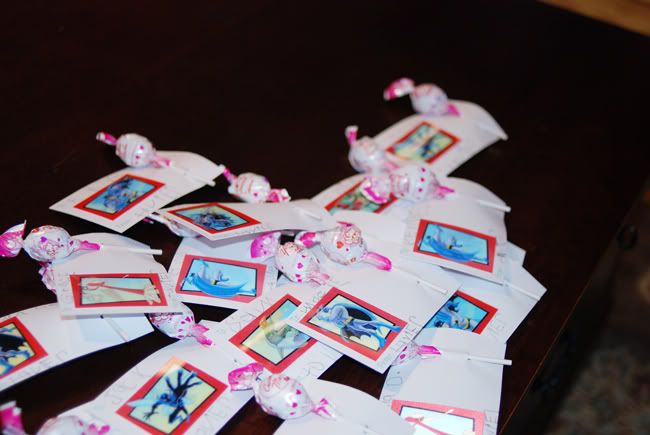
There was not room to write the names on the back of these valentines when you are just learning to write so we improvised and had room for a sucker:)
We were also hosting the Valentine Party for playgroup so we made even more valentines.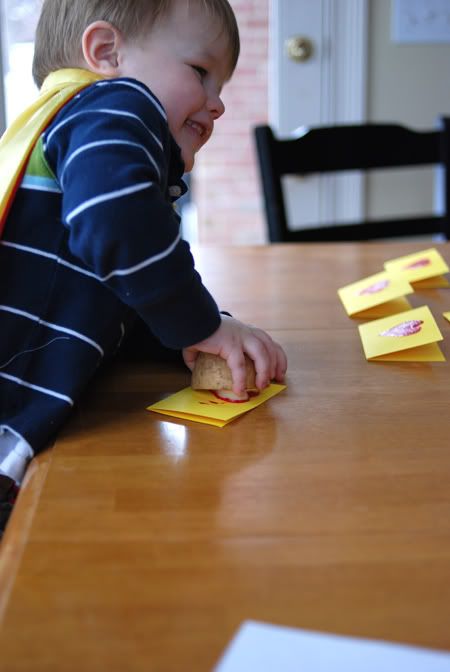
Dax wrote his name on every one himself!
We saw an idea for Xavier's valentines online and had fun making these together.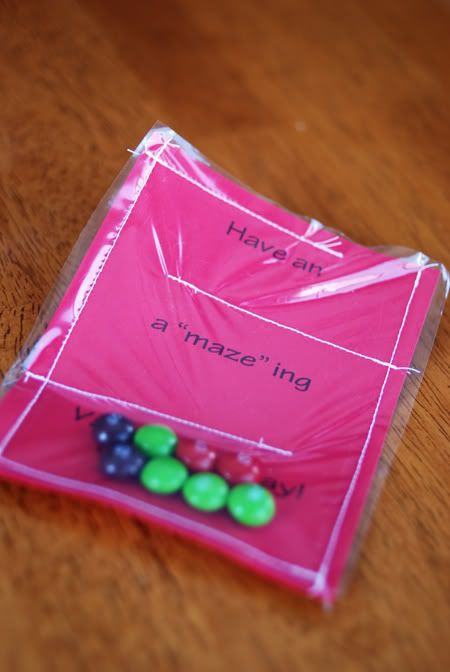
It says "Have an a"maze"ing Valentine's Day!
We put up some decorations upstairs and downstairs.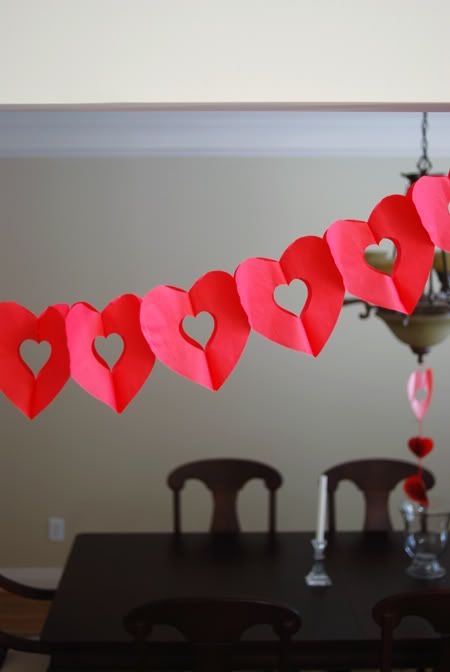
Everyone brought snacks to share and made little valentine holders at the party as a craft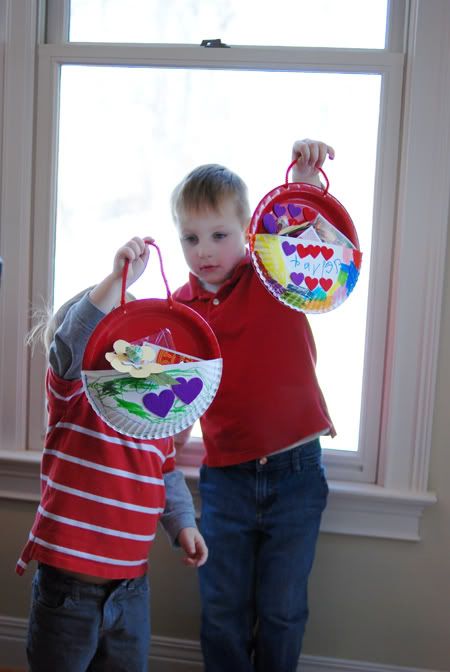
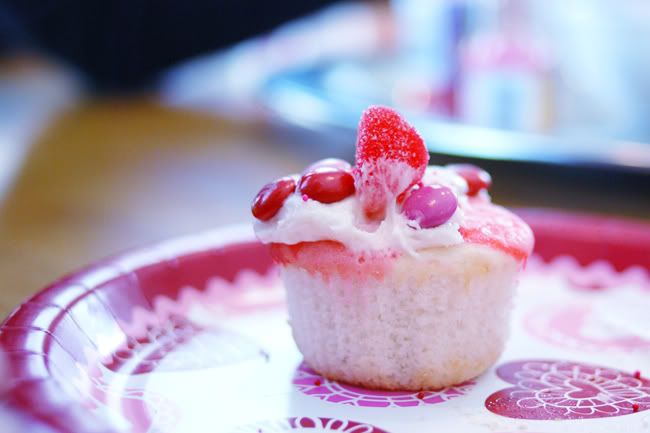
and then decorated cupcakes.
My friend sent me the link for these cupcakes and they turned out so cute. You can find that here.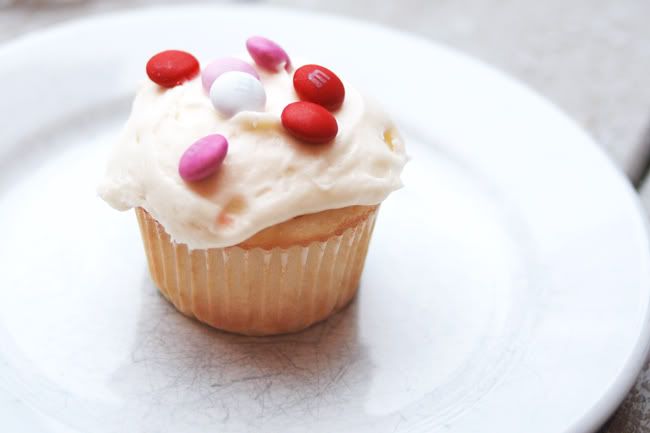
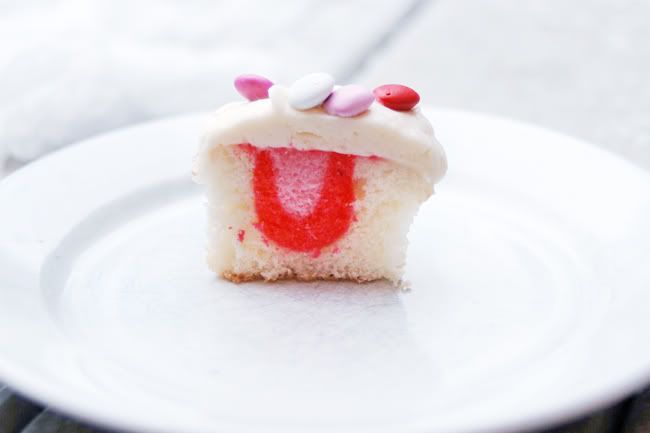
The real trick to it is to make sure to insert the tip of the baggie or pastry bag down into the cupcake and then squeeze. They were fun!!
After the party we delivered cupcakes and valentines to my friend who does story time at the library as the boys and I just love her!!
After that we took some quick valentine pictures. Not everyone was happy about all the ice and wind.
Dax had just fallen and claimed that the wind had done it!!
Xavier has his school party on Tuesday as it was supposed to be last Thurs. but many of the children didn't bring in their valentines because the weather was so bad on Tues and Wed. they could not go out to get them. And so the love fest continues:)
